
What’s the best ad blocker for 2020? pi-hole, of course! Wait, what’s pi-hole? Why is this the first time that I’m hearing of this? pihole is an adblocker that sits on your local network. It doesn’t install on your PC, so it’s not usually detected by websites that complain about such things. It also tracks which PCs on your network are reaching out to the Internet and for what. In my case, I found that my Smart TV was very chatty with its maker. Maybe it’s sending back advertising information? Who knows! I put an end to that activity! (with pihole)
pihole was written to be run on a Raspberry Pi. I’m going to install it on a Pi3–seems like a good compromise between installing on a Zero or a Pi4. To get the base functionality, it’s super easy to install and get running on your network. If you want, you can turn on lots of cool features, all entirely optional.
Install on a Raspberry Pi
The first step is to format an SD card and image it with Raspberry Pi OS. I’d recommend the Lite version. You’re not going to need the Desktop or many applications. Boot it up and run raspi-config, set the date and password. Change the hostname to pihole (optional). Do all the things that you normally do when you’re setting up a new Raspberry Pi. Check my beginner’s guide on the left column, if you need guidance. If you’re a regular subscriber to this blog, salt it with your baseline…
Next, install the software. Remember I said it was easy? Type this one line at the command prompt:
curl -sSL https://install.pi-hole.net | bashAnother reason why pihole is the best adsssssssblocker! Anyways, this line is an automated script that checks your system, downloads, and installs what it requires, and then fires up the software. Yeah, I know. Pipe curl results directly into bash while logged in as root!?!? What the what!??! pihole has been around for 5 years and still has a great reputation. I trust them. If you can’t, point your browser at pihole.net and they’ll explain how to install pihole by hand. As for me, I’ll be taking the easy route:
root@pihole:~# curl -sSL https://install.pi-hole.net | bash
[✓] Root user check
[i] Update local cache of available packages…
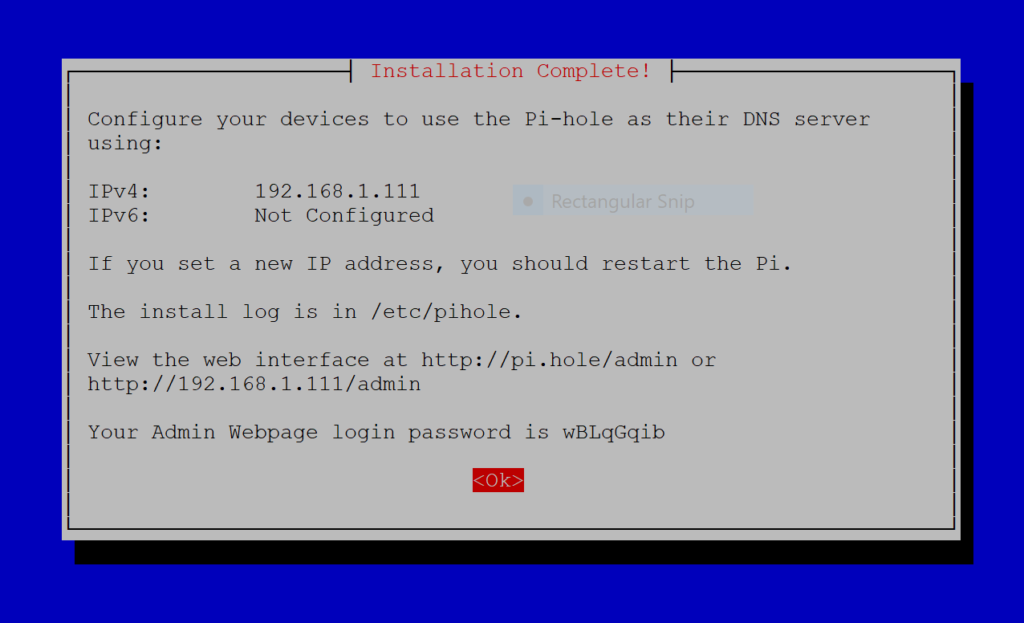
I just take ALL the defaults. You’ll see the option highlighted in red in typical ncurses fashion on each screen. Hit Enter to proceed. You will eventually get to the end of the interogation and be rewarded with this screen:
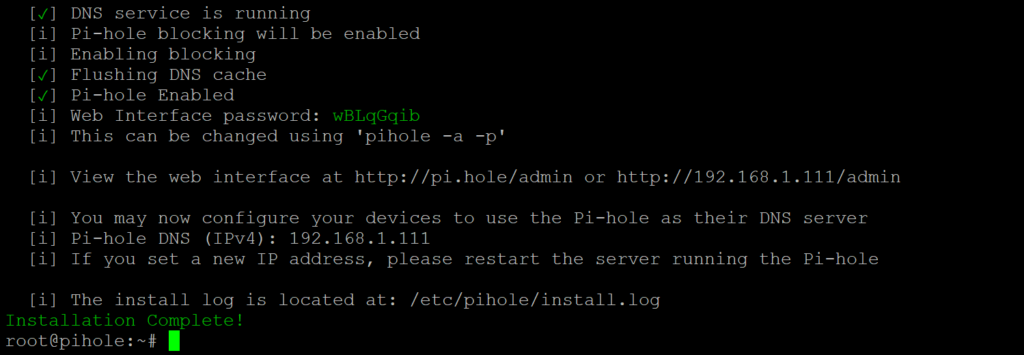
Hit enter one last time and you’ll see the end of the install log and the command line.
Browser-based Administration
Fire up your browser and have a look at the fantastic interface! The URL is on your screen. DO NOT forget to add the “/admin” suffix or you will be immediately disappointed.
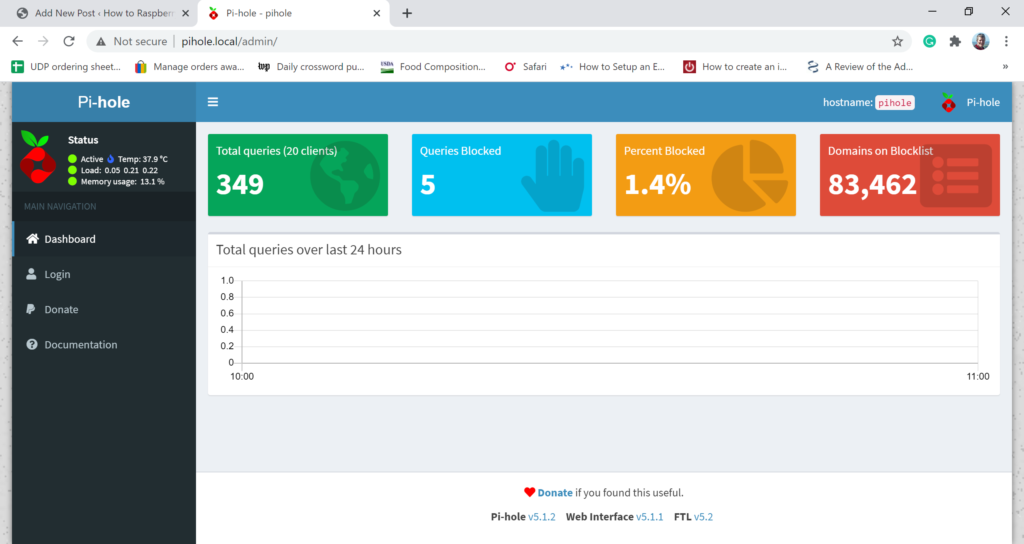
Choose “Login” from the left column. The password is on your console screen. If you trust the people on your local network, you can change that to null or maybe just something that’s easier to remember.
The one thing that I like to change is to configure pihole to resolve my local hostnames. Go to Settings > DNS and scroll to the bottom of the screen. Hit the checkbox for “Use Conditional Forwarding” and then fill in the information for your DNS server and the local domain that you’re using. The rest of the options can wait for more in-depth exploration.
Network Configuration
Now you need to configure your router to have DHCP clients use Pi-hole as their DNS server. This makes sure that all devices connected to your network will have advertizing content blocked without doing anything else.
If your router does not support setting the DNS server, you can use Pi-hole’s built-in DHCP server; just be sure to disable DHCP on your router first (if it has that feature available). As a last resort, you can always manually set each device to use Pi-hole as their DNS server.
In my case, I run DNS and DHCP on one of the LINUX servers. I put the pihole’s IP address first in the “option domain-name-servers” line of /etc/dhcp/dhcpd.conf. .111 is my pihole. .6 is my DHCP/DNS server and the 8. addresses are the public google DNS servers.
subnet 192.168.1.0 netmask 255.255.255.0 {
option routers 192.168.1.1;
option subnet-mask 255.255.255.0;
option domain-name "local.";
option domain-search "local.";
option domain-name-servers 192.168.1.111, 192.168.1.6, 8.8.8.8, 8.8.4.4;
option time-offset -18000;
option ntp-servers 192.168.1.1;
range 192.168.1.10 192.168.1.100;
option broadcast-address 192.168.1.255;
}
Once you make the change to dhcpd.conf, restart that service, and then reboot your workstation. Now you can enjoy ad-free browsing without having to install an ad blocker on every PC in the house. Need an ad blocker for your phone? Not anymore! Next time it restarts, it will get pihole as its primary DNS resolver and will be ad-free as well!
Post Script
Just a couple of admin notes:
- to change the password: pi-hole -r
- to remove the password from the admin interface: pihole -a -p
- to restart pi-hole: systemctl restart pihole-FTL