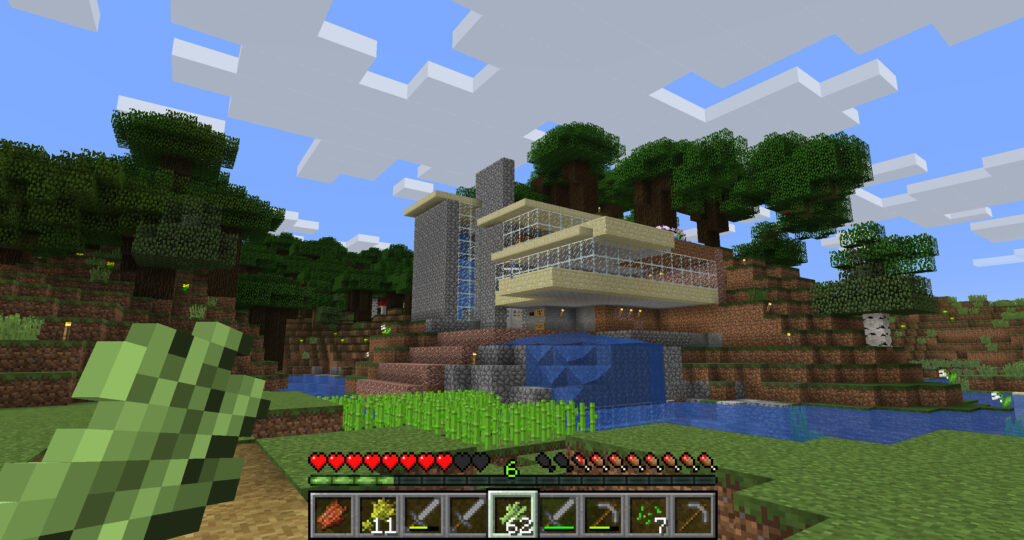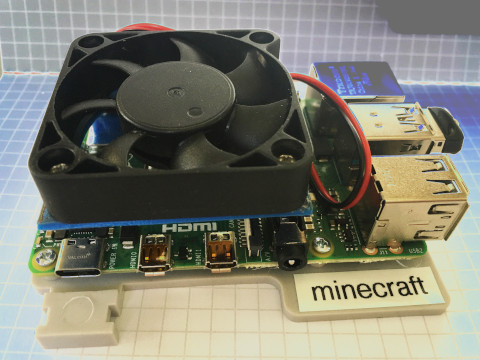
Got an extra raspberry laying around? Who doesn’t? Looking for a Minecraft server that has no subscription charges? This is a great way to play Minecraft with your friends without having to pay recurring charges! Set up a Raspberry Pi Minecraft server on your own LAN to play Minecraft with your friends! Here’s how:
Install Raspberry OS 64 bit
I’m using a 4GB Raspberry Pi 4 for my Minecraft server. In order to take advantage of more than 2GB of memory, you’re going to have to switch to a 64-bit operating system. There is a variant of Ubuntu that runs on the Raspberry. You can get that here.
The new 64-bit Raspberry operating system outperforms Ubuntu systematically when it comes to speed. And it tastes just like the rest of the Raspberries when running, so I’m sticking with Raspios. Here’s the link:
Install the new 64-bit OS in the usual way. Follow the beginner’s guide in the left sidebar of this page to learn how.
Install Java JDK
I’m running the Java Edition of Minecraft. You’ll need to make sure that the client and server match versions. To run the jar file that is distributed as the server, you’ll have to install the JDK.
By default, Raspberry Pi uses the Raspbian operating system. Raspbian is based on Debian, so terminal commands to install Java will use the apt package manager.
It is recommended that you install all packages from the default Raspbian software repositories. Raspberry Pi’s system architecture is ARM-based so many packages aren’t compatible. The default Raspbian repositories have a fully-updated and compatible version of OpenJDK.
In a terminal window, enter the following:
sudo apt update
sudo apt install default-jdk
The first command updates your package repositories to use the latest software. The second command installs Java. If prompted, type Y and press Enter to allow the process to complete.
You can verify the installation by checking the software version as follows:
pi@minecraft:~# java --version
The system will display the software version. It should display something similar to:
openjdk 11.0.8 2020-07-14
OpenJDK Runtime Environment (build 11.0.8+10-post-Debian-1deb10u1)
OpenJDK 64-Bit Server VM (build 11.0.8+10-post-Debian-1deb10u1, mixed mode)
Disable swap
Java doesn’t like swap, especially on a Raspberry. You’ll never miss it. The default is a 100MB swap file. Kinda’ silly to use if we’ve got 4GB of the real stuff hanging around. It’s simple to turn off. To turn it off ad hoc the command is:
sudo dphys-swapfile swapoff
To disable it and have it not reload when you reboot, you will need to run:
sudo systemctl disable dphys-swapfile.service
To check your work, run the command:
free -m
And you should see:
pi@minecraft:~# free -h
total used free shared buff/cache available
Mem: 3.7Gi 151Mi 3.2Gi 0.0Ki 373Mi 3.5Gi
Swap: 0B 0B 0B
Configure external storage
As a server app, Minecraft does a lot of writing to the “hard drive”. As you know, on a Raspberry, the hard drive is an SD card, that doesn’t appreciate a lot of writing, so I suggest setting up a USB drive as your Minecraft storage. Format a USB drive with ext4, add it to /etc/fstab with the mountpoint /mc
Get server.jar
Now that we’ve got our server configured for running Minecraft, we’ll have to get the jar file that is Minecraft. Here is the source:
https://www.minecraft.net/en-us/download/server
They’ve got the link on the page, but I would use wget to download it directly on the Raspberry, like this:
cd /mc
wget https://launcher.mojang.com/v1/objects/f02f4473dbf152c23d7d484952121db0b36698cb/server.jar
Configure Minecraft as a service
You want Minecraft to always be available. You want it to restart itself on bootup and if it has a problem and crashes. Sounds like a “service” to me! Let’s configure the system to run Minecraft as a service. First, create a file in /lib/systemd/system/minecraft.service that contains this:
[Unit]
Description=Minecraft Server
Documentation=
Wants=network.target
After=network.target
[Service]
User=minecraft
Group=minecraft
WorkingDirectory=/mc
ExecStart=/usr/bin/java -Xms3G -Xmx3G -XX:+UseG1GC -jar server.jar nogui
[Install]
WantedBy=multi-user.target
and then activate it by running:
systemctl daemon-reload
systemctl enable --now minecraft.service
Awesome! Notice the ExecStart line. I am designating 3GB to this java process. This raspberry has 4 and it running nothing but the OS and this java process. Look at the “free” command result above.
Let’s reboot to make sure everything is in place. Rerun “free -h” and make sure memory and swap are configured. “ps -ef | grep java” should reveal that the MInecraft server is running. “netstat -avpnt | grep java” should show that it’s listening on port 25565.
Using Your New Minecraft Server
Getting close now! Fire up your Minecraft client on your computer. If you need to go buy the client, you can find it here:
https://www.minecraft.net/en-us/download
You should be up-and-running! Add a new server in the client that is the IP address of your raspberry and have fun! Word of caution: don’t try to connect to this server right after starting it. Run “top” and watch the java process utilization shoot up like a rocket. It creates the world and a bunch of files to track the game. After a minute or two, you should see the CPU start to settle and you can try to connect.
Playing Minecraft with Outsiders
Now, you just need players! LANparty! But, in this day of social distancing, you’re probably going to want to configure your firewall to port forward to your Minecraft server. The ports in question are:
- TCP: 25565
- UDP: 19132-19133,25565
You’ll need to configure dynamic DNS to make sure others on the Internet can find you. Google has a free service. Here is a good article about how to do that.
Cooling!
Yes, you’re going to need a fan! My server started thermal throttling after a couple of minutes of running around in the game. The temps hit 60C and the game was bearly playable. I 3D printed a little fan holder for my 40mm fan. Now, the temps stay around 36C.

Special Bonus Section:
I was getting a lot of lagginess when running or multiple people were all simultaneously accessing the server. I did a little poking around on the Internet for java command line arguments and have compiled the best ones into this gem. It takes into account that I’ve got 3GB of RAM free and a 4 core CPU.
Replace ExecStart in your service definition file with this (single) line:
ExecStart=/usr/bin/java -Xms1G -Xmx3G -Xmn768m -XX:+DisableExplicitGC -XX:+UseG1GC -XX:+UseNUMA -XX:+CMSParallelRemarkEnabled -XX:MaxTenuringThreshold=15 -XX:MaxGCPauseMillis=30 -XX:GCPauseIntervalMillis=150 -XX:+UseAdaptiveGCBoundary -XX:-UseGCOverheadLimit -XX:+UseBiasedLocking -XX:SurvivorRatio=8 -XX:TargetSurvivorRatio=90 -XX:MaxTenuringThreshold=15 -Dfml.ignorePatchDiscrepancies=true -Dfml.ignoreInvalidMinecraftCertificates=true -XX:+UseCompressedOops -XX:+OptimizeStringConcat -XX:ReservedCodeCacheSize=2048m -XX:+UseCodeCacheFlushing -XX:SoftRefLRUPolicyMSPerMB=10000 -XX:ParallelGCThreads=3 -jar server.jar nogui
Restart the daemon and you should have a much better experience!