Here’s a cool project. Set up a webcam for under $50! Attach a raspberry pi camera to a raspberry pi zero. Do a little bit of cutting and pasting and you’ve got a web server that streams video!
- Raspberry Pi Zero
- SD card
- Power Supply
- Raspberry Pi Camera (cheap)
- Raspberry Pi Camera (better)
- Raspberry Pi Camera (HQ)
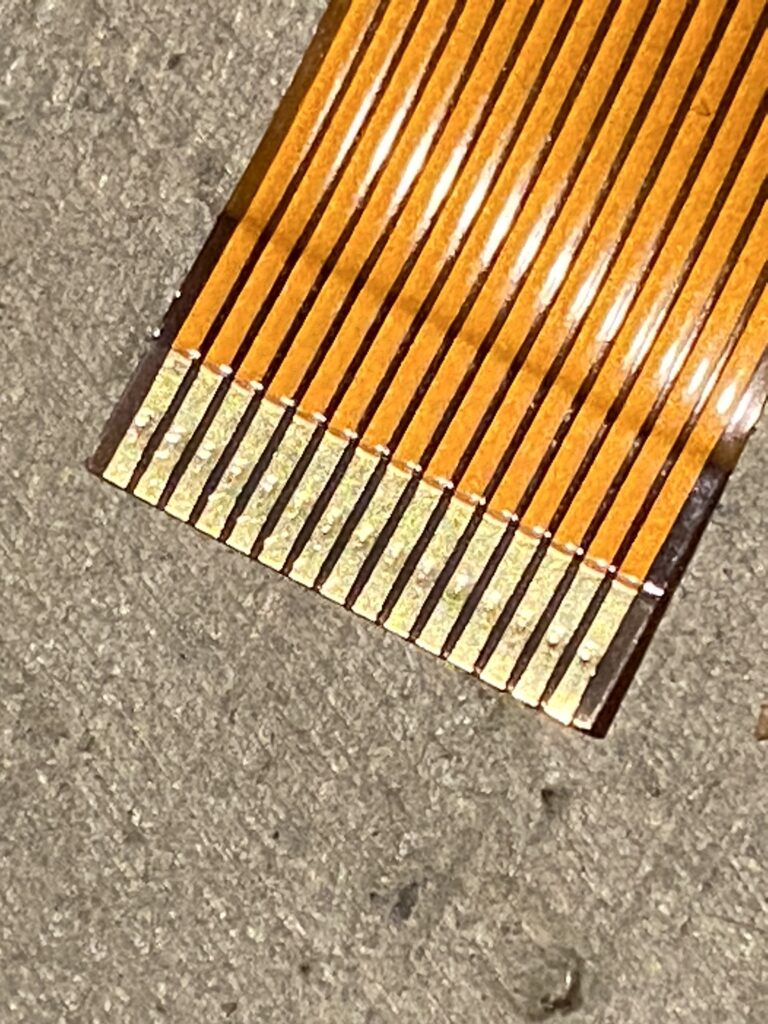
- Raspberry Cam Ribbon Cable (you need a narrow cable for the zero)
Set up the SD card with the latest Raspberry Pi OS. See the Setup Guide on the left for details.
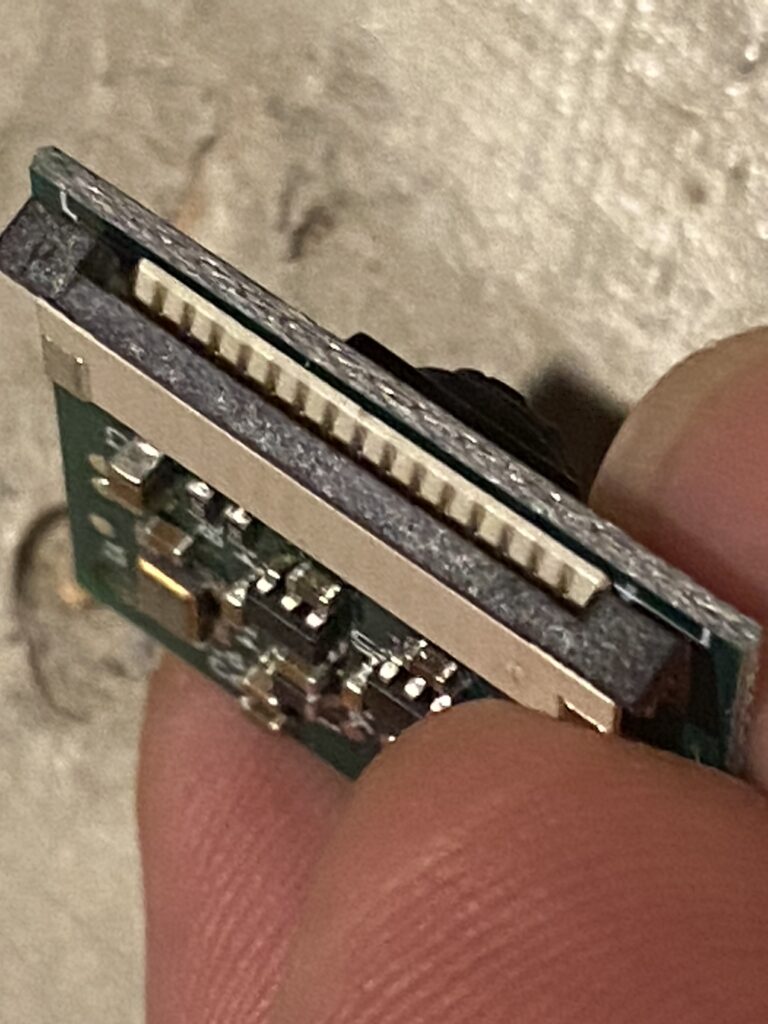
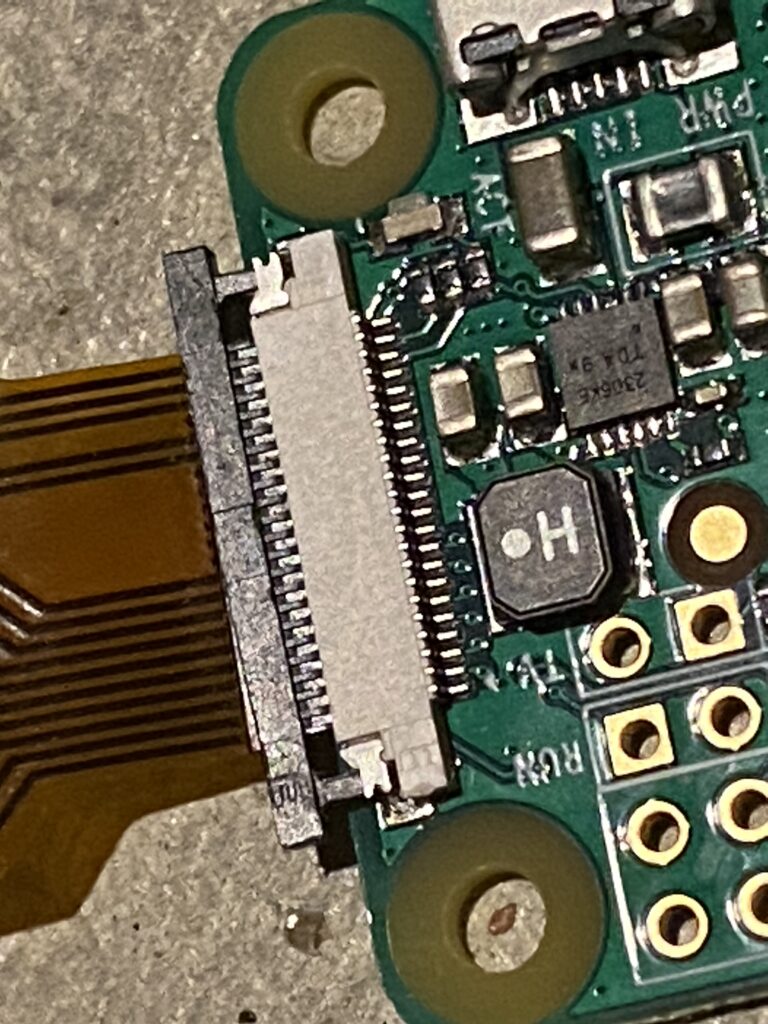
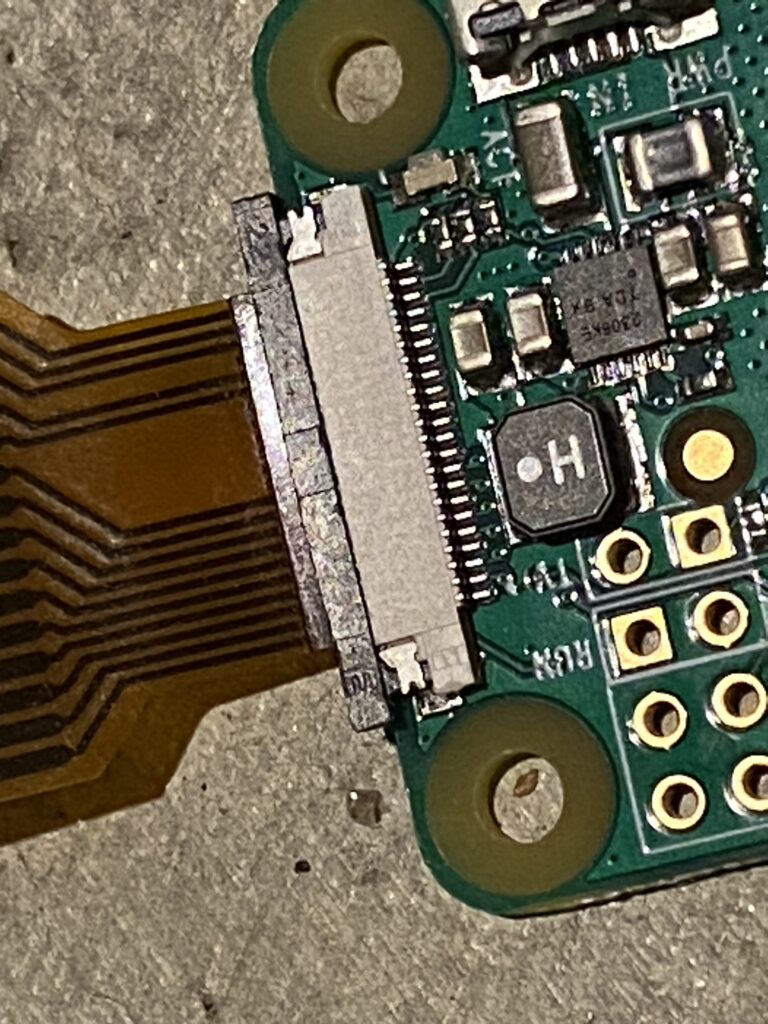
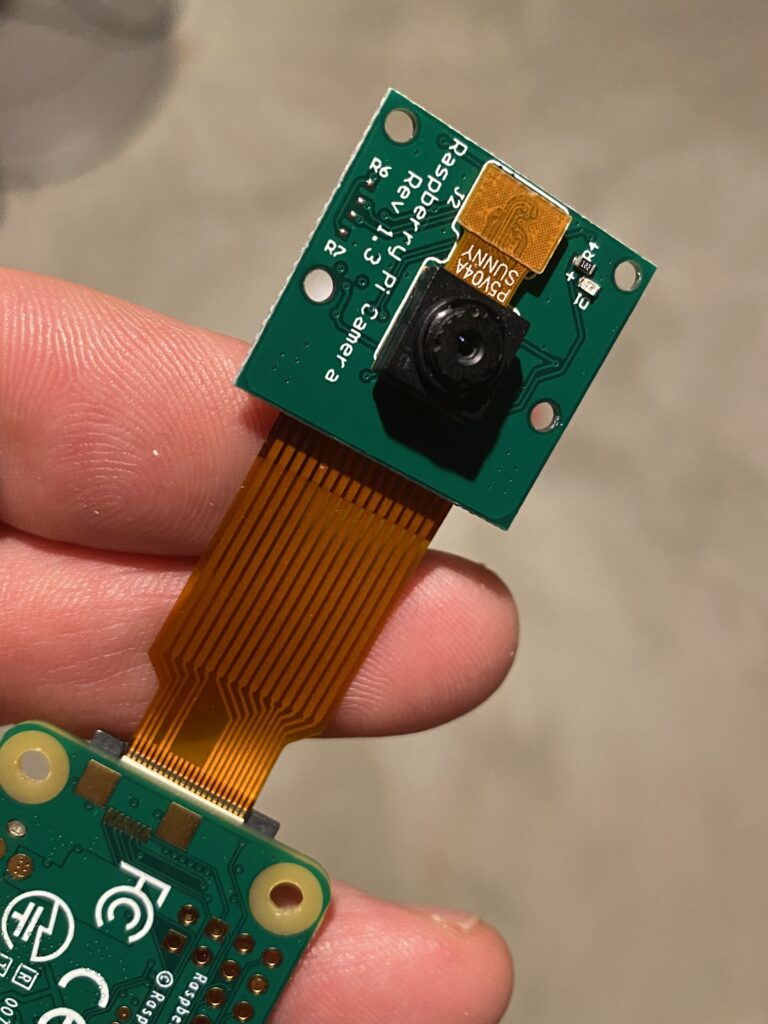
Next, plug the Pi Camera cable in. There’s an edge connector on the board that accepts the cable. Use a fingernail to move the slide clamp up gently, put the ribbon cable in, and then slide the clamp back into place. Check out the pictures at the bottom of this post if you need help with the connections.
Web Cam Configuration
Run “sudo raspi-config” to turn on the camera interface. Arrow down to 3-Interface Options and then P1 Camera. Choose <YES> and then enter and <OK>. Tab, tab, enter will save your selection. Reboot to enable the camera.
Once you ssh back in to the Raspberry, you can check if the Raspberry can see the camera with the command:
vcgencmd get_camera
It should reply that it’s connected and supported. Now, grab the code to run from here:
http://picamera.readthedocs.io/en/latest/recipes2.html#web-streaming
Cut and paste the python script into a new document. Save it as web.py or whatever you like. You can customize the script as you see fit. Change the resolution, if you want. I changed the port from 8000 to 80, just to make it simpler to find.
python3 is already installed, even in the Raspberry Pi OS Lite version. You will have to install the camera software:
apt-get install python3-picamera
How to Get Your Raspberry Pi IP Address
While you’re on the command line, grab your IP address so you can find the server. Run “ip a” and look for the line that starts with INET:
root@zero-cam:~# ip a
 1: lo:  mtu 65536 qdisc noqueue state UNKNOWN group default qlen 1000
     link/loopback 00:00:00:00:00:00 brd 00:00:00:00:00:00
     inet 127.0.0.1/8 scope host lo
        valid_lft forever preferred_lft forever
     inet6 ::1/128 scope host
        valid_lft forever preferred_lft forever
 2: wlan0:  mtu 1500 qdisc pfifo_fast state UP group default qlen 1000
     link/ether b8:27:eb:34:94:18 brd ff:ff:ff:ff:ff:ff
     inet 192.168.1.84/24 brd 192.168.1.255 scope global dynamic noprefixroute wlan0
        valid_lft 33353sec preferred_lft 27953sec
     inet6 fe80::1df:78ea:1c09:be7b/64 scope link
        valid_lft forever preferred_lft forever
 root@zero-cam:~#
The IP address of my wifi network interface is 192.168.1.84, so the URL of my webcam is http://192.168.1.84
Run the script with the command:
python3 web.py &
Use your browser to checkout your new website:
http://<your ip address>:<8000> or whatever you set the port to> You should see a live stream of what your camera sees!
Secret Bonus Tip
I didn’t get a live stream the first time I tried this. You might need to load the kernel module to enable the camera. Try this:
sudo modprobe bcm2835-v4l2
Raspberry Cam Connection Guide