If you’re like me, you spend a lot of time reinstalling Raspberry Pi OS on your Raspberries. I rebuild them when I no longer need the services that I was running, or if an installation if something goes south. Sure, I can write an SD card and then run saltstack to get back to my baseline. Or maybe you constantly forget to put a dummy ssh file in /boot to enable ssh on the new build! But, wouldn’t it be nice to deploy a new Raspberry with everything that you configure and install already built-in? Then all you have to do is change the hostname and you can hit the ground running!
You’ve probably tried this by using your SD card burning software to read a good image file that you subsequently try to write to another card, effectively copying your entire set up to another Raspberry. This results in failure because the custom image doesn’t fit on another card. The solution? Resize the root partition on the SD card to the minimum size and THEN image. Here’s how:
Creating the “Master”
First, Burn the latest Raspberry Pi OS image to the SD sard. Boot up and run “apt update && apt upgrade”. Run “raspi-config” and set the localization settings and install your usual cast of utilities. Then, you can follow these steps to resize the card and create a roll-your-own .img file for future deployments!
Shrinking the Root Partition
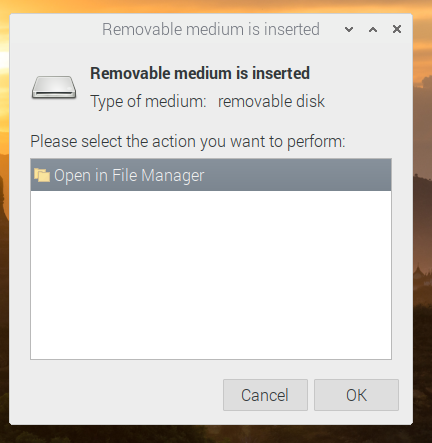
Once you’re satisfied that you’ve got everything you need baked in to your master Raspberry, change the hostname to something that you’ll recognize coming onto your network. I have a master named “pi3” and one named “pi4”, depending on which model you’re working on. Do a “shutdown -h now” and power off the Raspberry that you just built. Pull the SD card and put it in a card reader. (I’ve been diggin’ this one.) Plug the reader into another Raspberry running desktop. Cancel the dialogue that pops up wanting to know if you want to mount the newly inserted media.
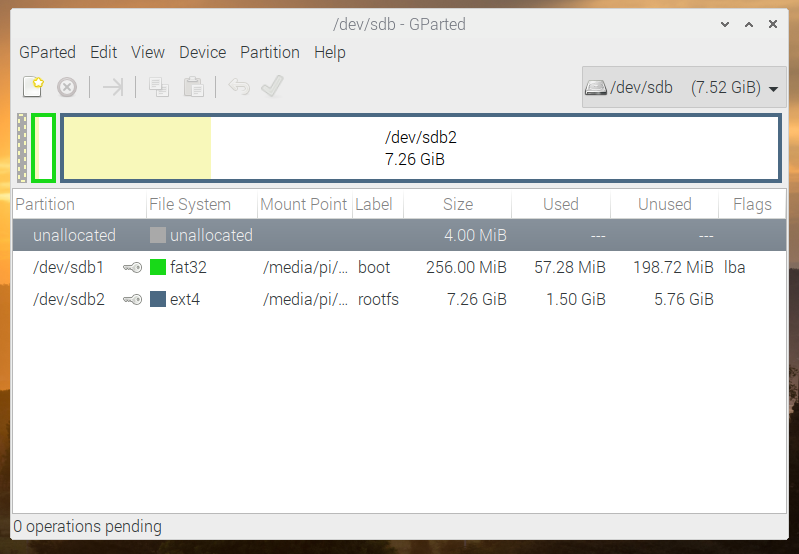
You may have to unmount it, in the next step, anyway, but just keep going. Next, we’re going to run gpart from the menu. It will be under “Tools”. You may need to install it with “sudo apt install gpart”. Change the user from “pi” to “root”, give your password, and you’ll get this cool representation of your hard drive. Use the pulldown in the upper-right to change to /dev/sdb or wherever Raspberry OS attached your SD card. You know you’ve got the right device when you see the fat32 boot partition in the top slot.
Right-click on the rootfs partition and choose “Resize”. You’ll get this dialog box.
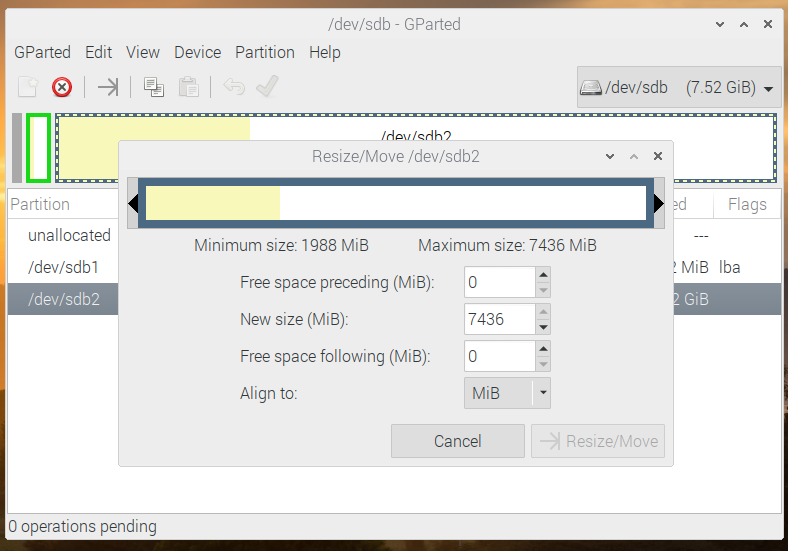
Grab the right-hand arrow and drag it to just to the right of the yellow area. I like to leave a little white showing to allow some slack space in the resized partition so there’s no issues down the road.
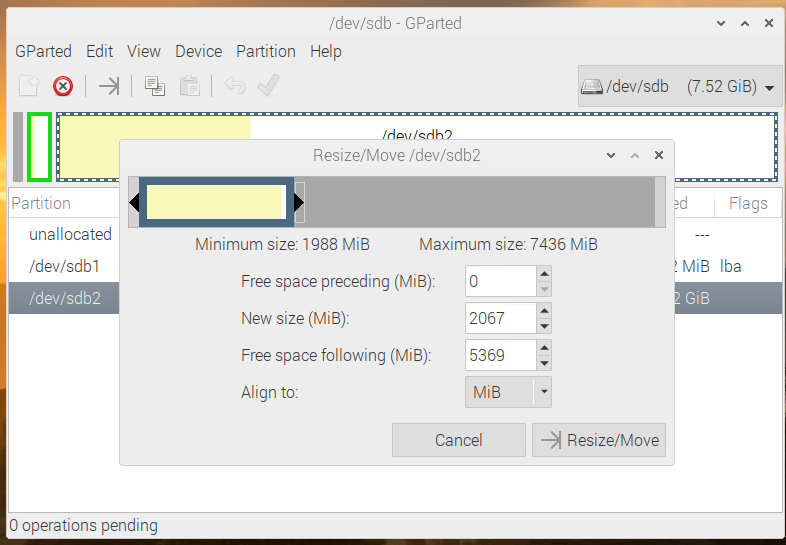
Once you’re happy with the sizing, click “Resize/Move”. You’re not done! Click the Green Checkmark at the top of the screen to finalize changes, in our case, just this one. That will start the actual resizing of the partition:
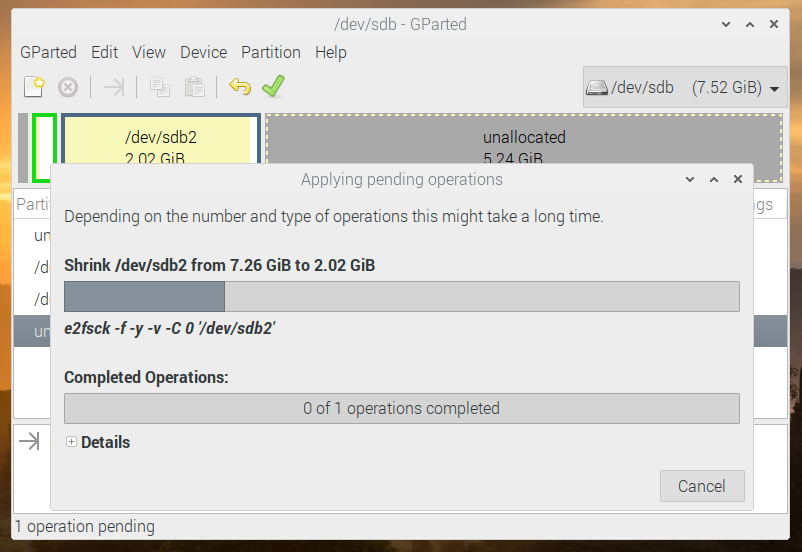
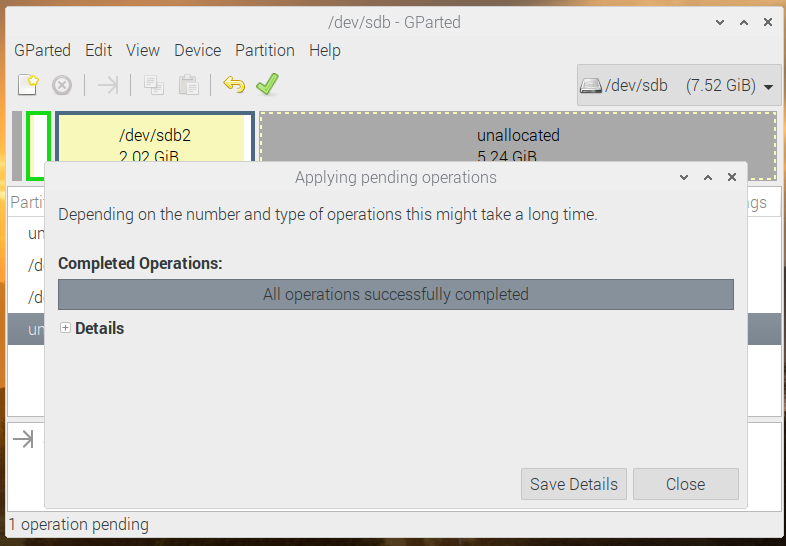
Let this go through its paces and it will finish in a few moments.
Write Your .img File
Now, we’re ready to image. I do this on my Windows desktop. Fire up Win32Imager, with your SD card in place. Click the blue folder and browse for a location and type in a name for your new custom image. We’re going to create an image with the “Read” button, but before you do…
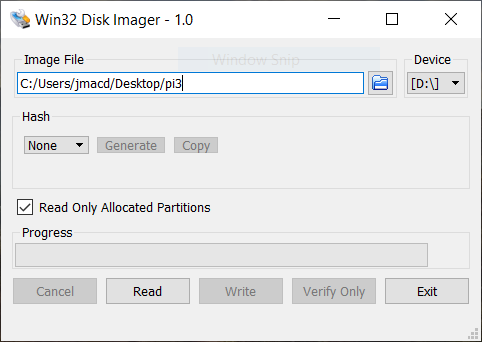
Click the checkbox for “Read Only Allocated Partitions”. This is the magic. This way the Imager won’t read to the end of the SD card. Now, you can click the Read button and do this thing.
Using A Home-Spun .img file on Raspberry Pi
Now, you can burn your new image onto as many SD cards as you want! Boot up. Watch your DHCP server for the custom hostname coming onto your network. ssh in and change the hostname to something more meaningful.
OH, and don’t forget to run raspi-config, advanced options, expand filesystem!
Nice explanation, i have customized pi 3 image which was created by one of my colleague,
it has some functionality to perform on hardware same image i want now for pi 4, how can i create or update this image to pi4 image?
You’ll have to build an image from scratch for each model.
Hello? Im new on raspberry pi, my colleague built a raspbian img file. and I want to open it using linux ubuntu or is there a way where I can run it directly without installing it or flashing it to SD card? because my raspberry have SD card and SSD on it. i just want to run the img file system. please help.
How do you make it auto resize on boot
Now, please show us how to do it on the Pi, without using Windows.
Hint: Teach a little command line, like gparted (or gnome-disks) and dd. Once people learn the power of command line, a new and wonderful world opens up to them.