What is openHAB? openHAB is a platform for controlling your house, or at least the electronics within it! They describe it as the open Home Automation Bus (openHAB, pronounced ˈəʊpənˈhæb), an open-source, technology-agnostic home automation platform which runs as the center of your smart home. I like the idea of a bus that offers me standardized ports to plug in controllers for the stuff I want to control.
Install the Ready-made Image
The easiest way to get started with openHABian is to download the OpenHAB image and burn that to a USB drive and boot. It’s built on Raspberry PI OS which is great for me because that’s what I’ve standardized on. IF you prefer something else, jump ahead. The prebuilt system will take 30-45 minutes to complete its installation on your Raspberry. It’s quite thorough and it automagically builds a working openHAB system on your Raspberry. You can monitor the progress with a web browser by going to http://openhabian:8080
Or Install By Hand
If you’re a big control freak or you don’t like automated installs, you can install the whole thing by hand. First, make sure git is installed:
apt-get update
apt-get install git
Then, download, link and create config file:
git clone -b openHAB3 https://github.com/openhab/openhabian.git /opt/openhabian
ln -s /opt/openhabian/openhabian-setup.sh /usr/local/bin/openhabian-config
cp /opt/openhabian/build-image/openhabian.conf /etc/openhabian.conf
Edit /etc/openhabian.conf to match your needs, then finally install the software with the command:
openhabian-config unattended
Setting Up Your openHAB Raspberry
Your first glimpse into openHAB will likely be while it’s still installing. Connect to the openHAB Log Viewer (frontail) by hitting it with your browser:
http://openhabian:9001
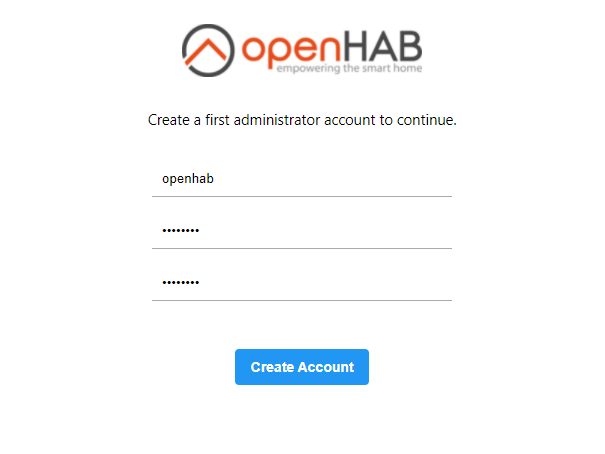
Once the installation process completes, you can hit the main address URL at: http://openabian:8080 and you should be confronted with the log in screen. Your first task is to create the admin password.
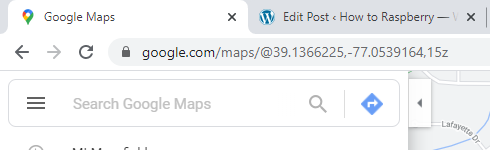
Then, you’ll set the localization variables. Once the third screen, you’ll be asked for your location. This is needed for weather and sunrise/sunset times. You can find these numbers on Google Maps by clicking on a spot on the map, and the needed coordinates pop up on the URL line:
OR just use the built-in red prompt on the openHAB interface. Click the red map arrow and you get a scrollable, zoomable map to find your location. Click and the coordinates are auto-filled. So far, so good. I’m beginning to like this platform!
Add-ons!
From here, things just get more integrated. The Next screen offers the first chance to install some Add-ons! Add-ons are the prebuilt, simple to install extensions to the stuff that we want to control. The blue link takes you to this list of chicklets that takes you to detailed descriptions and instructions.
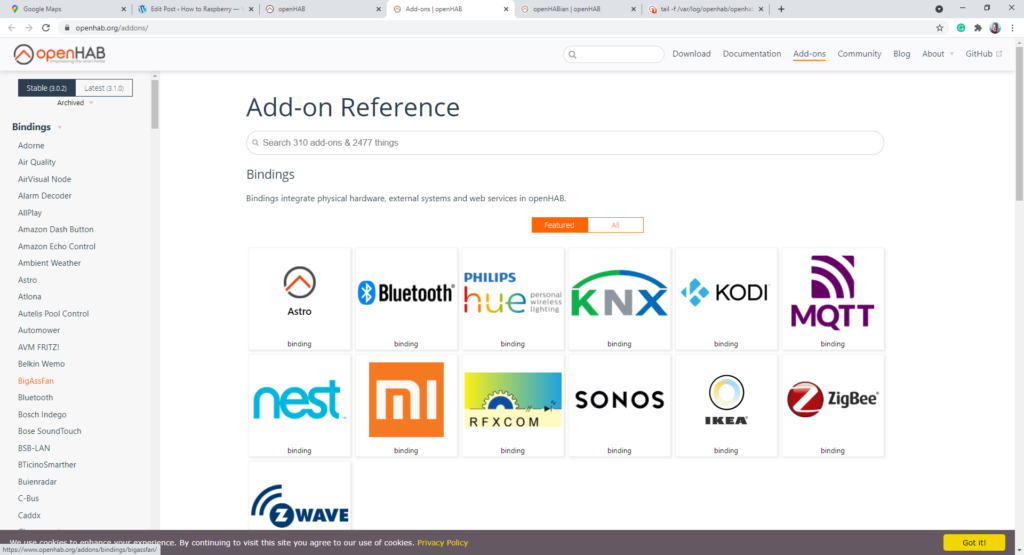
Ohh! Philips? Kodi? Bluetooth! This is going to be fun. But, start small. Each plugin takes memory and resources, so don’t go hog-wild. You can always add/remove plugins, so pick one or two to start with. Each one takes a little mental resources, as well, so don’t overwhelm your brain, either!
Clicking the red link gives you a checklist or the addons that you can choose to install. Just use the search bar to find your stuff. Search by company name or by product name. Find a couple to get started, check them and close. The install screen will populate:
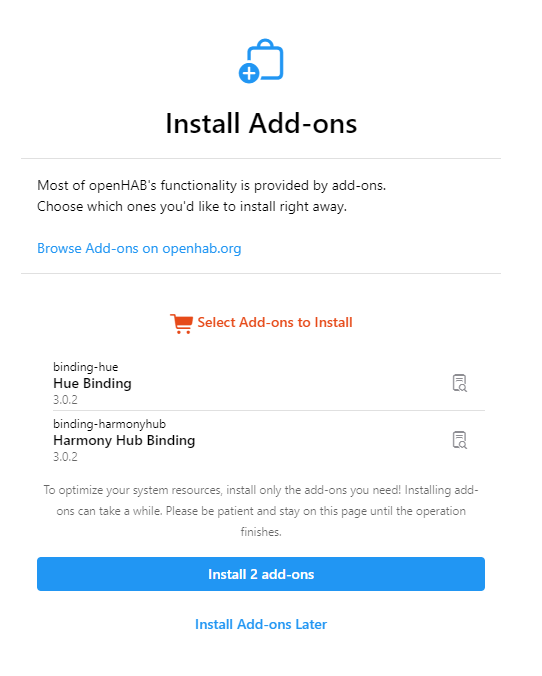
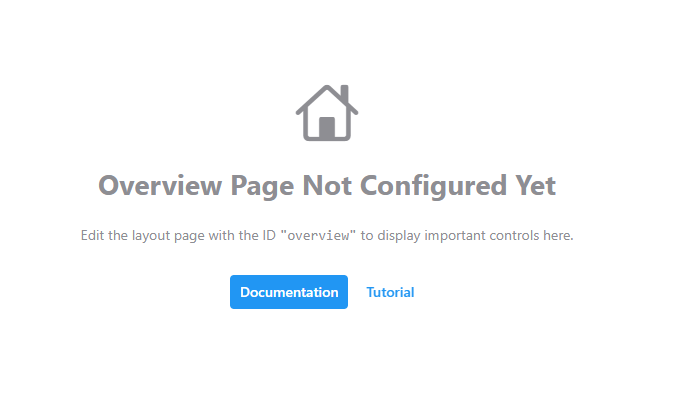
Hit the blue bar to carry on. If all goes well, you’ll end on this screen that’s just letting you know that you need to set up your overview screen.
Progress!
BUT! Let’s check the logs! Remember the other URL that I gave? http://openhabian.local:9001/ Hit that with the browser for progress on the add-ins installs:
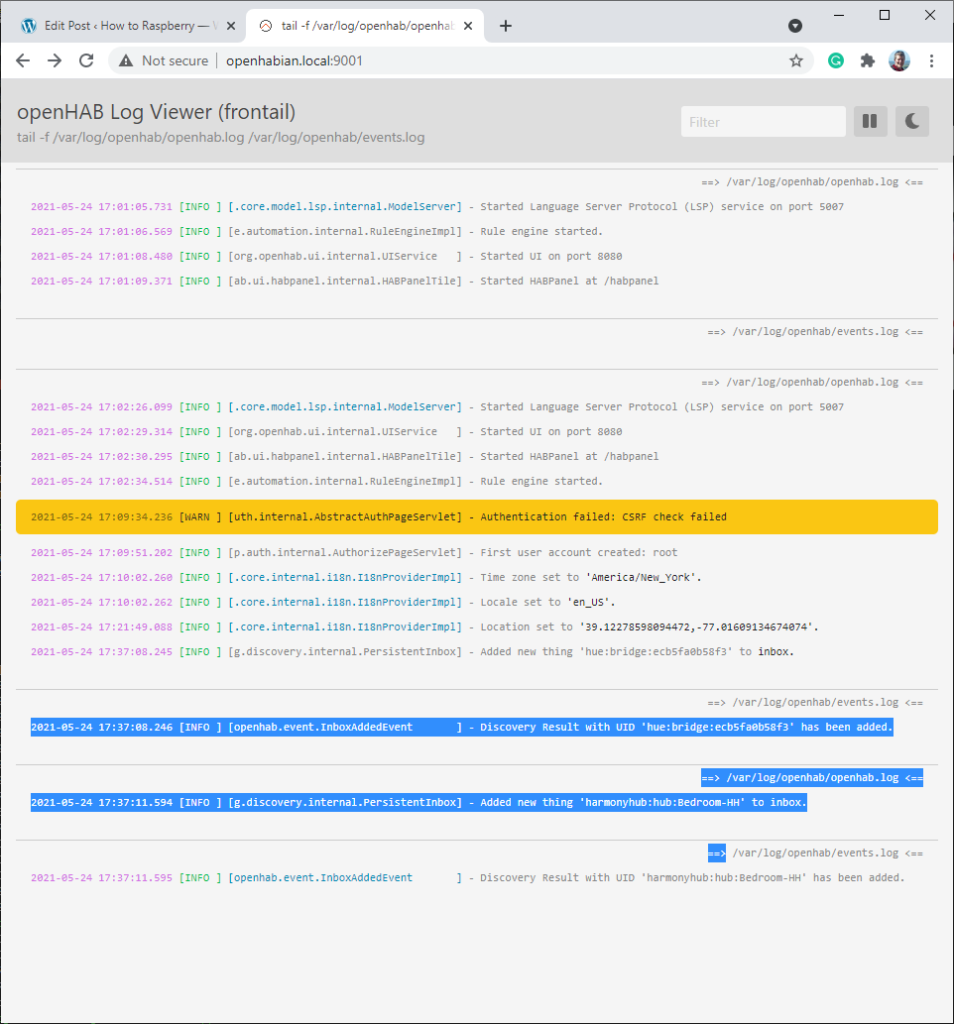
See the part that I highlighted in blue? openHAB found the things on my network that it’s going to control! Oh, and that orange highlight? I mistyped the password…
ssh interface
While we’re still on the top of raw set up, let’s sidebar to the text based configuration. ssh to openhabian and check out the ncurses menu system. The default username/password is openhabian/openhabian. You’ll see the default motd but then the openhabian welcome screen.
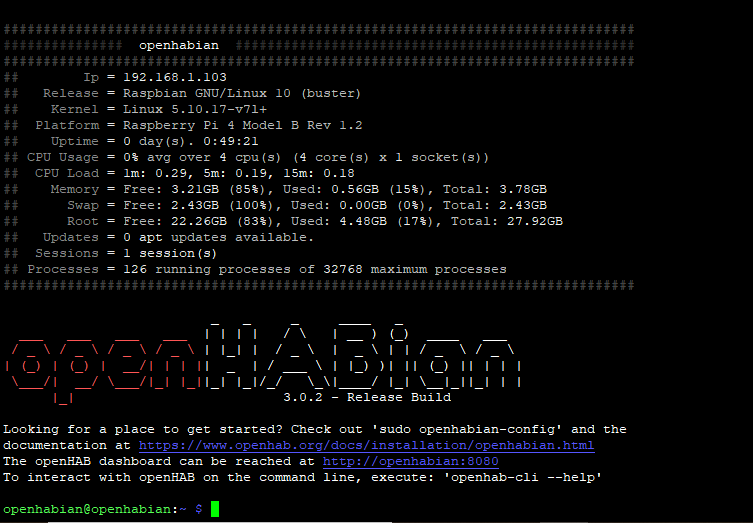
To get into the menu system, just notice the prompt. It literally tells you to type sudo openhabian-config. So, let’s do that! You’ll get some programming announcements and then the main config menu. I’m not changing anything, at this point, except the password, Exit the menu and then “passwd openhabian” at the system prompt.
That should be enough to get you started. I’ll post more soon, as I build up my system. I’ll leave you to explored on your own. Next post, I’ll let you know about my exploits trying to get mycroft, the voice control system integrated into all of this!