Argon Forty is shipping a great case for the Raspberry Pi 4! There are a couple of options available. All come with a beautiful aluminum case, a software-controlled fan, an IR receiver, and a removable IO header cover. Options include an M.2 adapter that allows you to add a high-speed, solid-state drive to your Raspberry! This is what we’re putting today in this post.
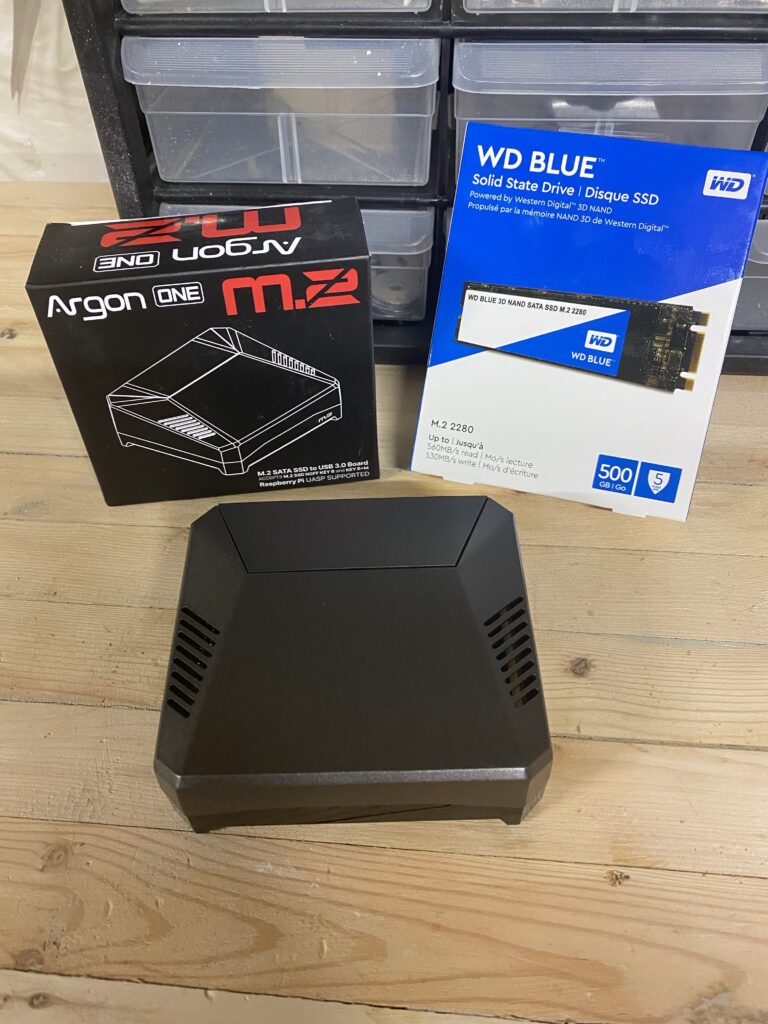
One thing to note before we get too far ahead of ourselves (like I did), it to notice the spec for the M.2 drive. The Argon One case ONLY takes a M.2 Key B or M.2 Key B+M SATA drive! I had a couple of extra 512M M.2 drives that I wanted to plug into my Raspberries and bought a couple of cases. Turns out that I had to buy a couple of replacement M.2 drives would fit. essentially, these drives have the slot on the other side of what you’re used to.

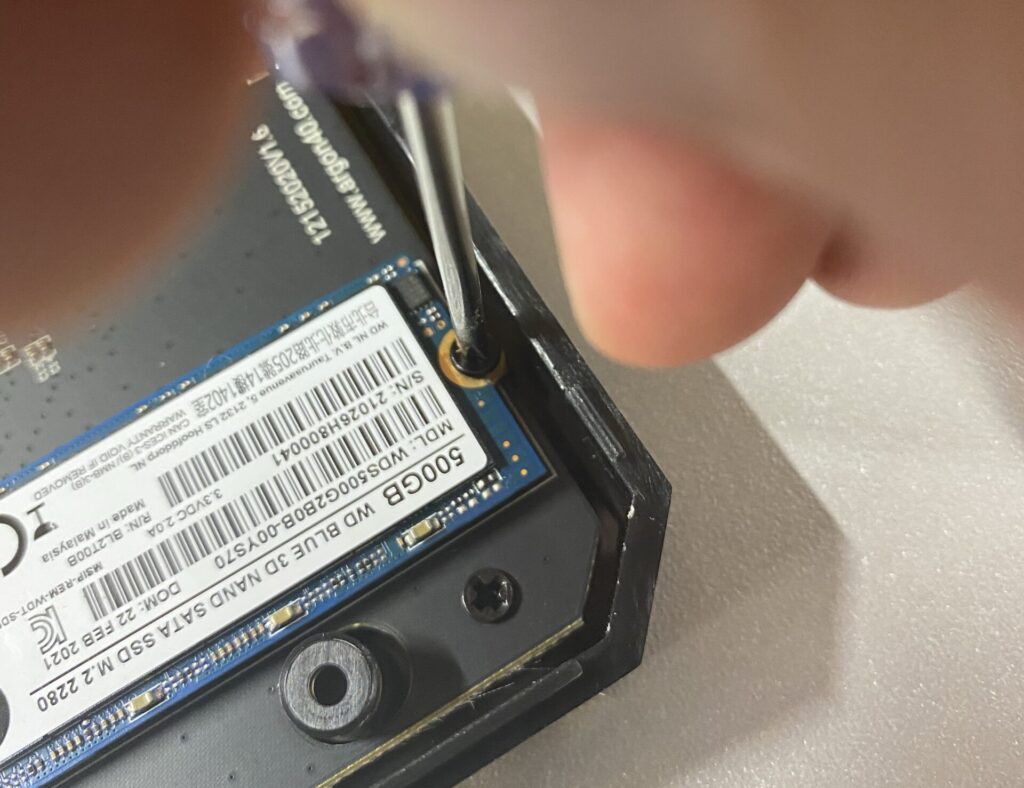
Once you’ve found the right drive, mount it on the bottom of the case, which has the adapter. This case bottom ships with a tiny screw to hold the drive down. Take the screw out. Socket the drive and then push it all the way down to the board. Hold in place with the provided screw.
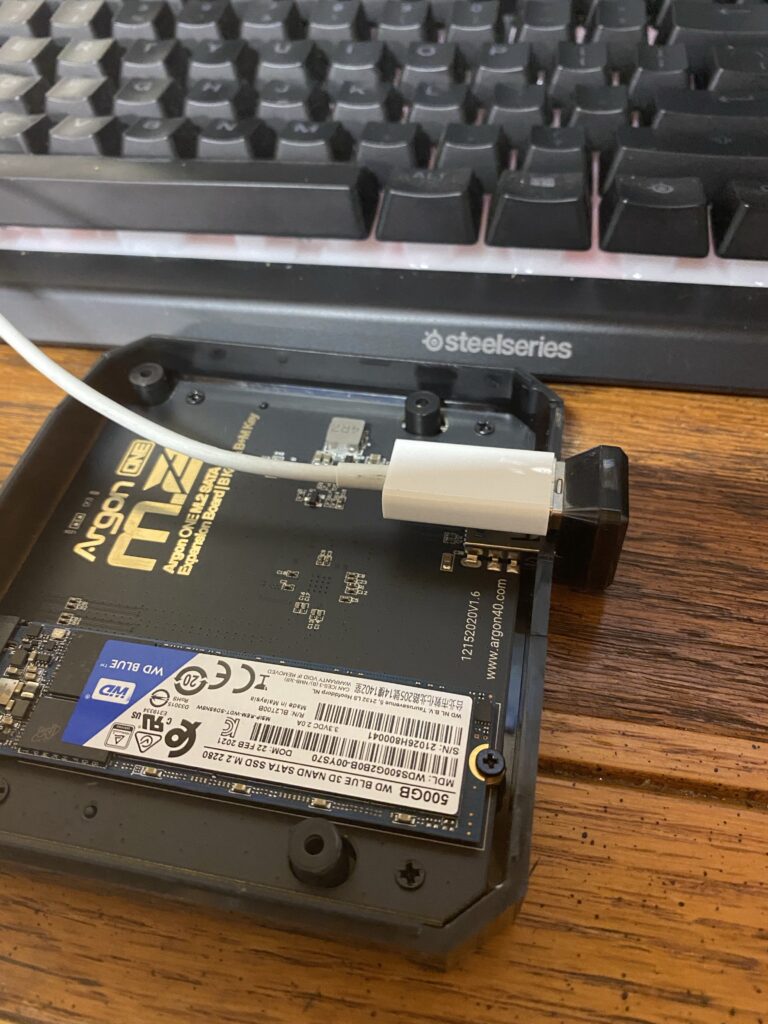
Once you’ve got the drive in place, put the USB connector into place and attach a USB extender cable. Plug the other end into your computer and once the drive is recognized by your computer you can image it!
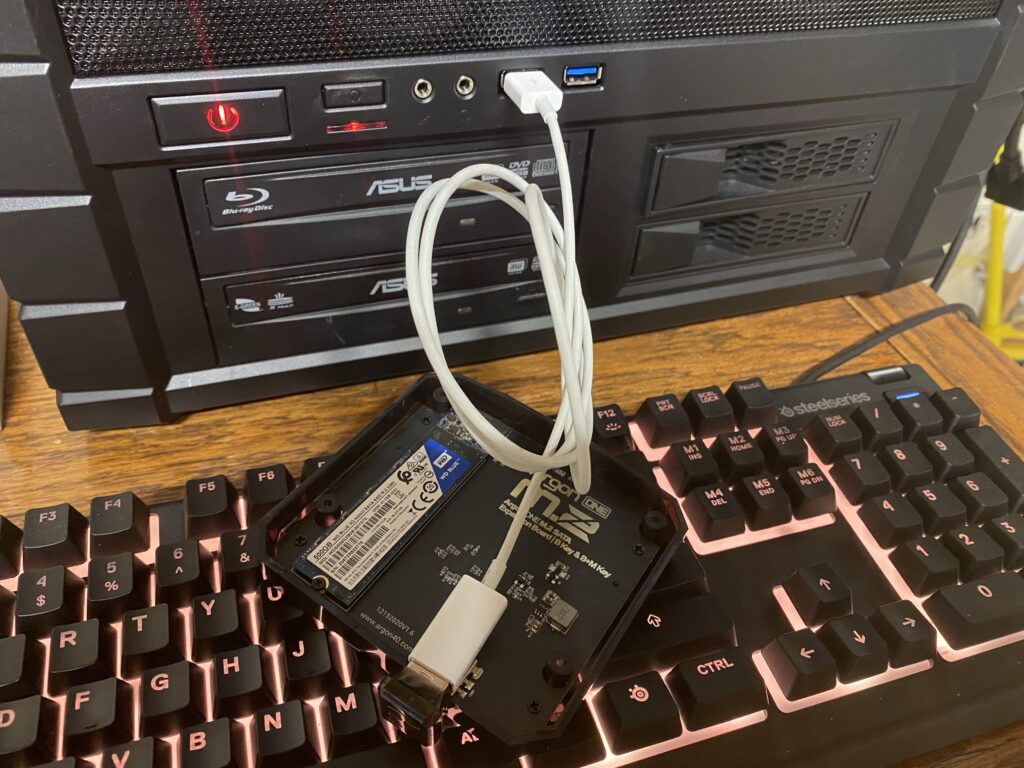
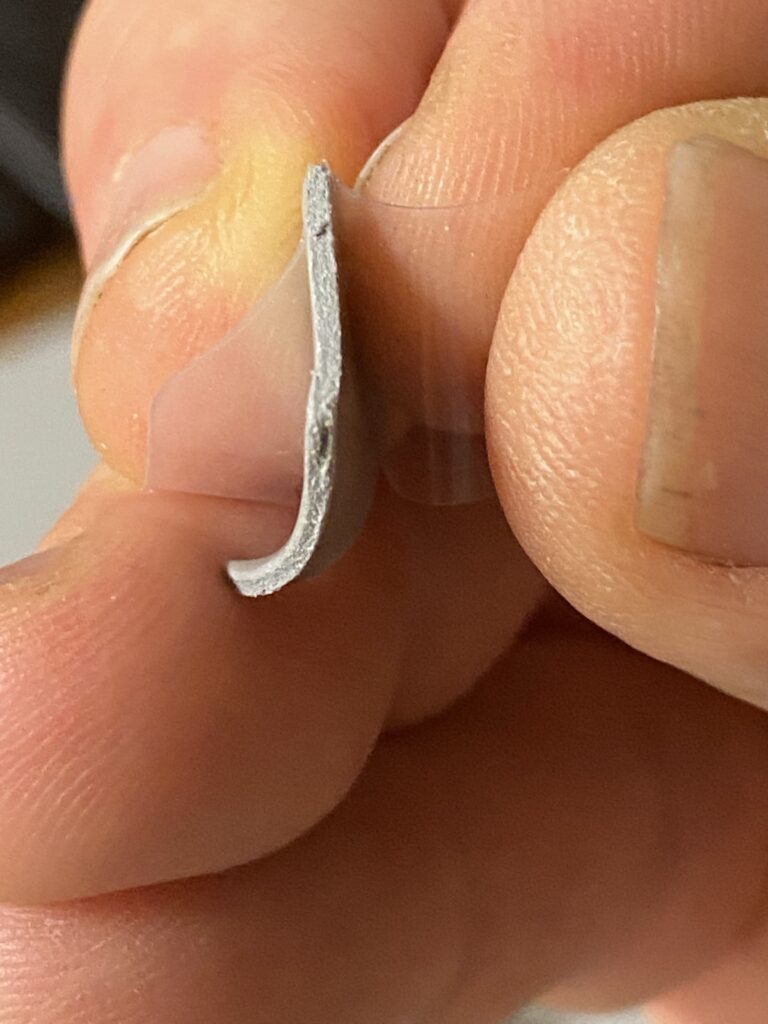
Here’s a close-up showing the USB adapter from the Argon kit and the USB cable.
I like using balenaEtcher. Here’s how your new drive appears:
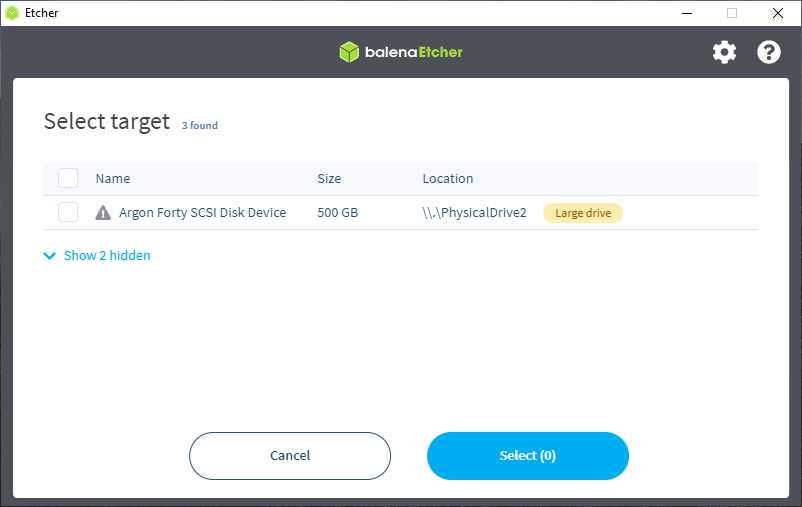
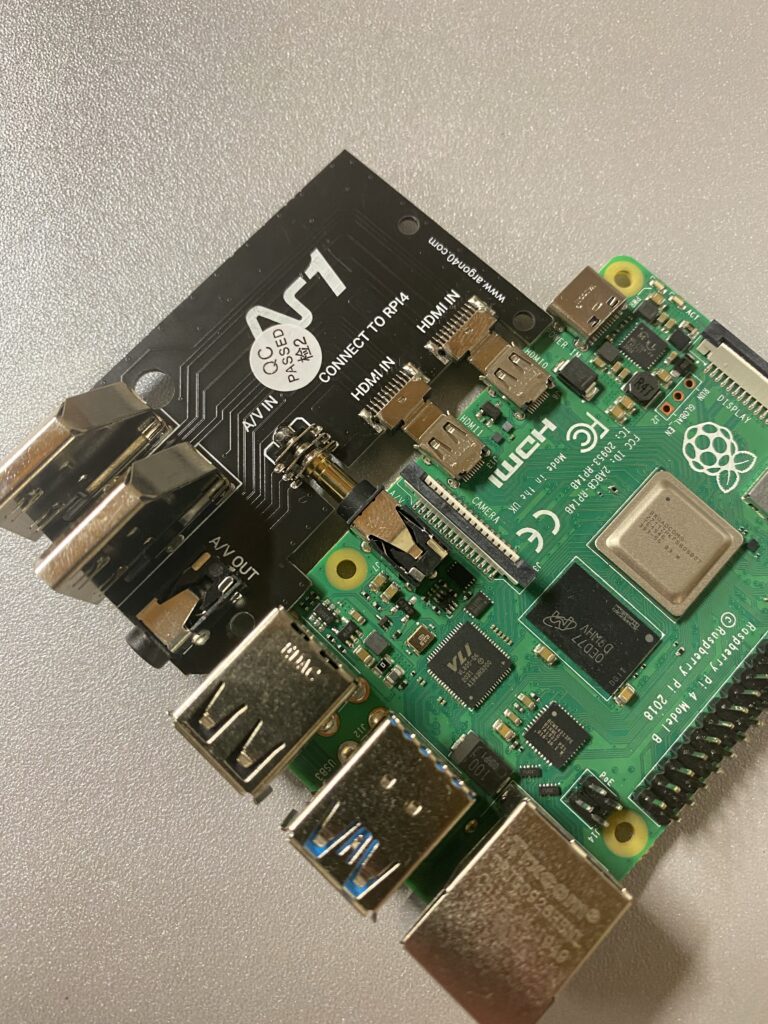
Choose your OS location. Choose your Argon Forty SCSI disk. Flash! While that’s cooking, let’s get the rest of the parts installed. Next, we need to attach the daughter card that redirects the power and HDMI ports. Please be gentle but forceful when installing this thing! I had visions of snapping all the connectors off my Raspberry if I applied pressure in the wrong direction! In the end, It installed quite nicely. Get the two boards to just touch. When you install this combination in the case, the connection will be postive.
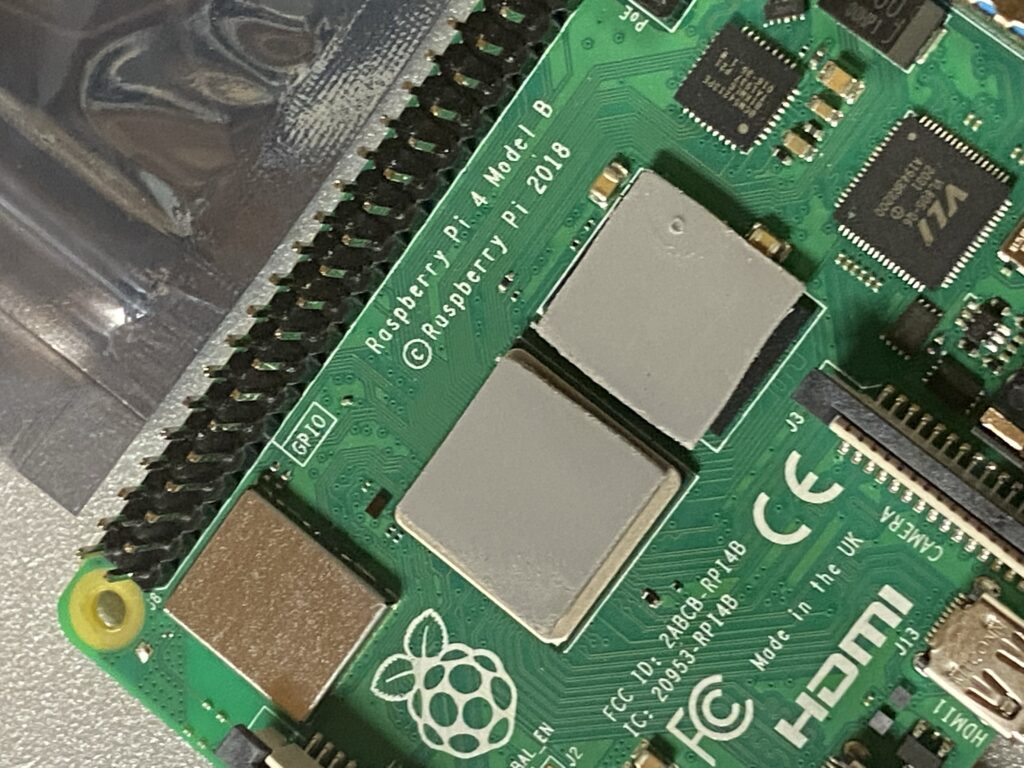
Next, apply the silicone heat transfer pads. These ship with a plastic cover on both sides. One is quite thin and hard to remove, but it’s there. Make sure you get it off to ensure proper heat transfer.
The instructions say to put them on the case where contact is made. I put mine right on the Raspberry chips. Now, push this into the lid of the case.
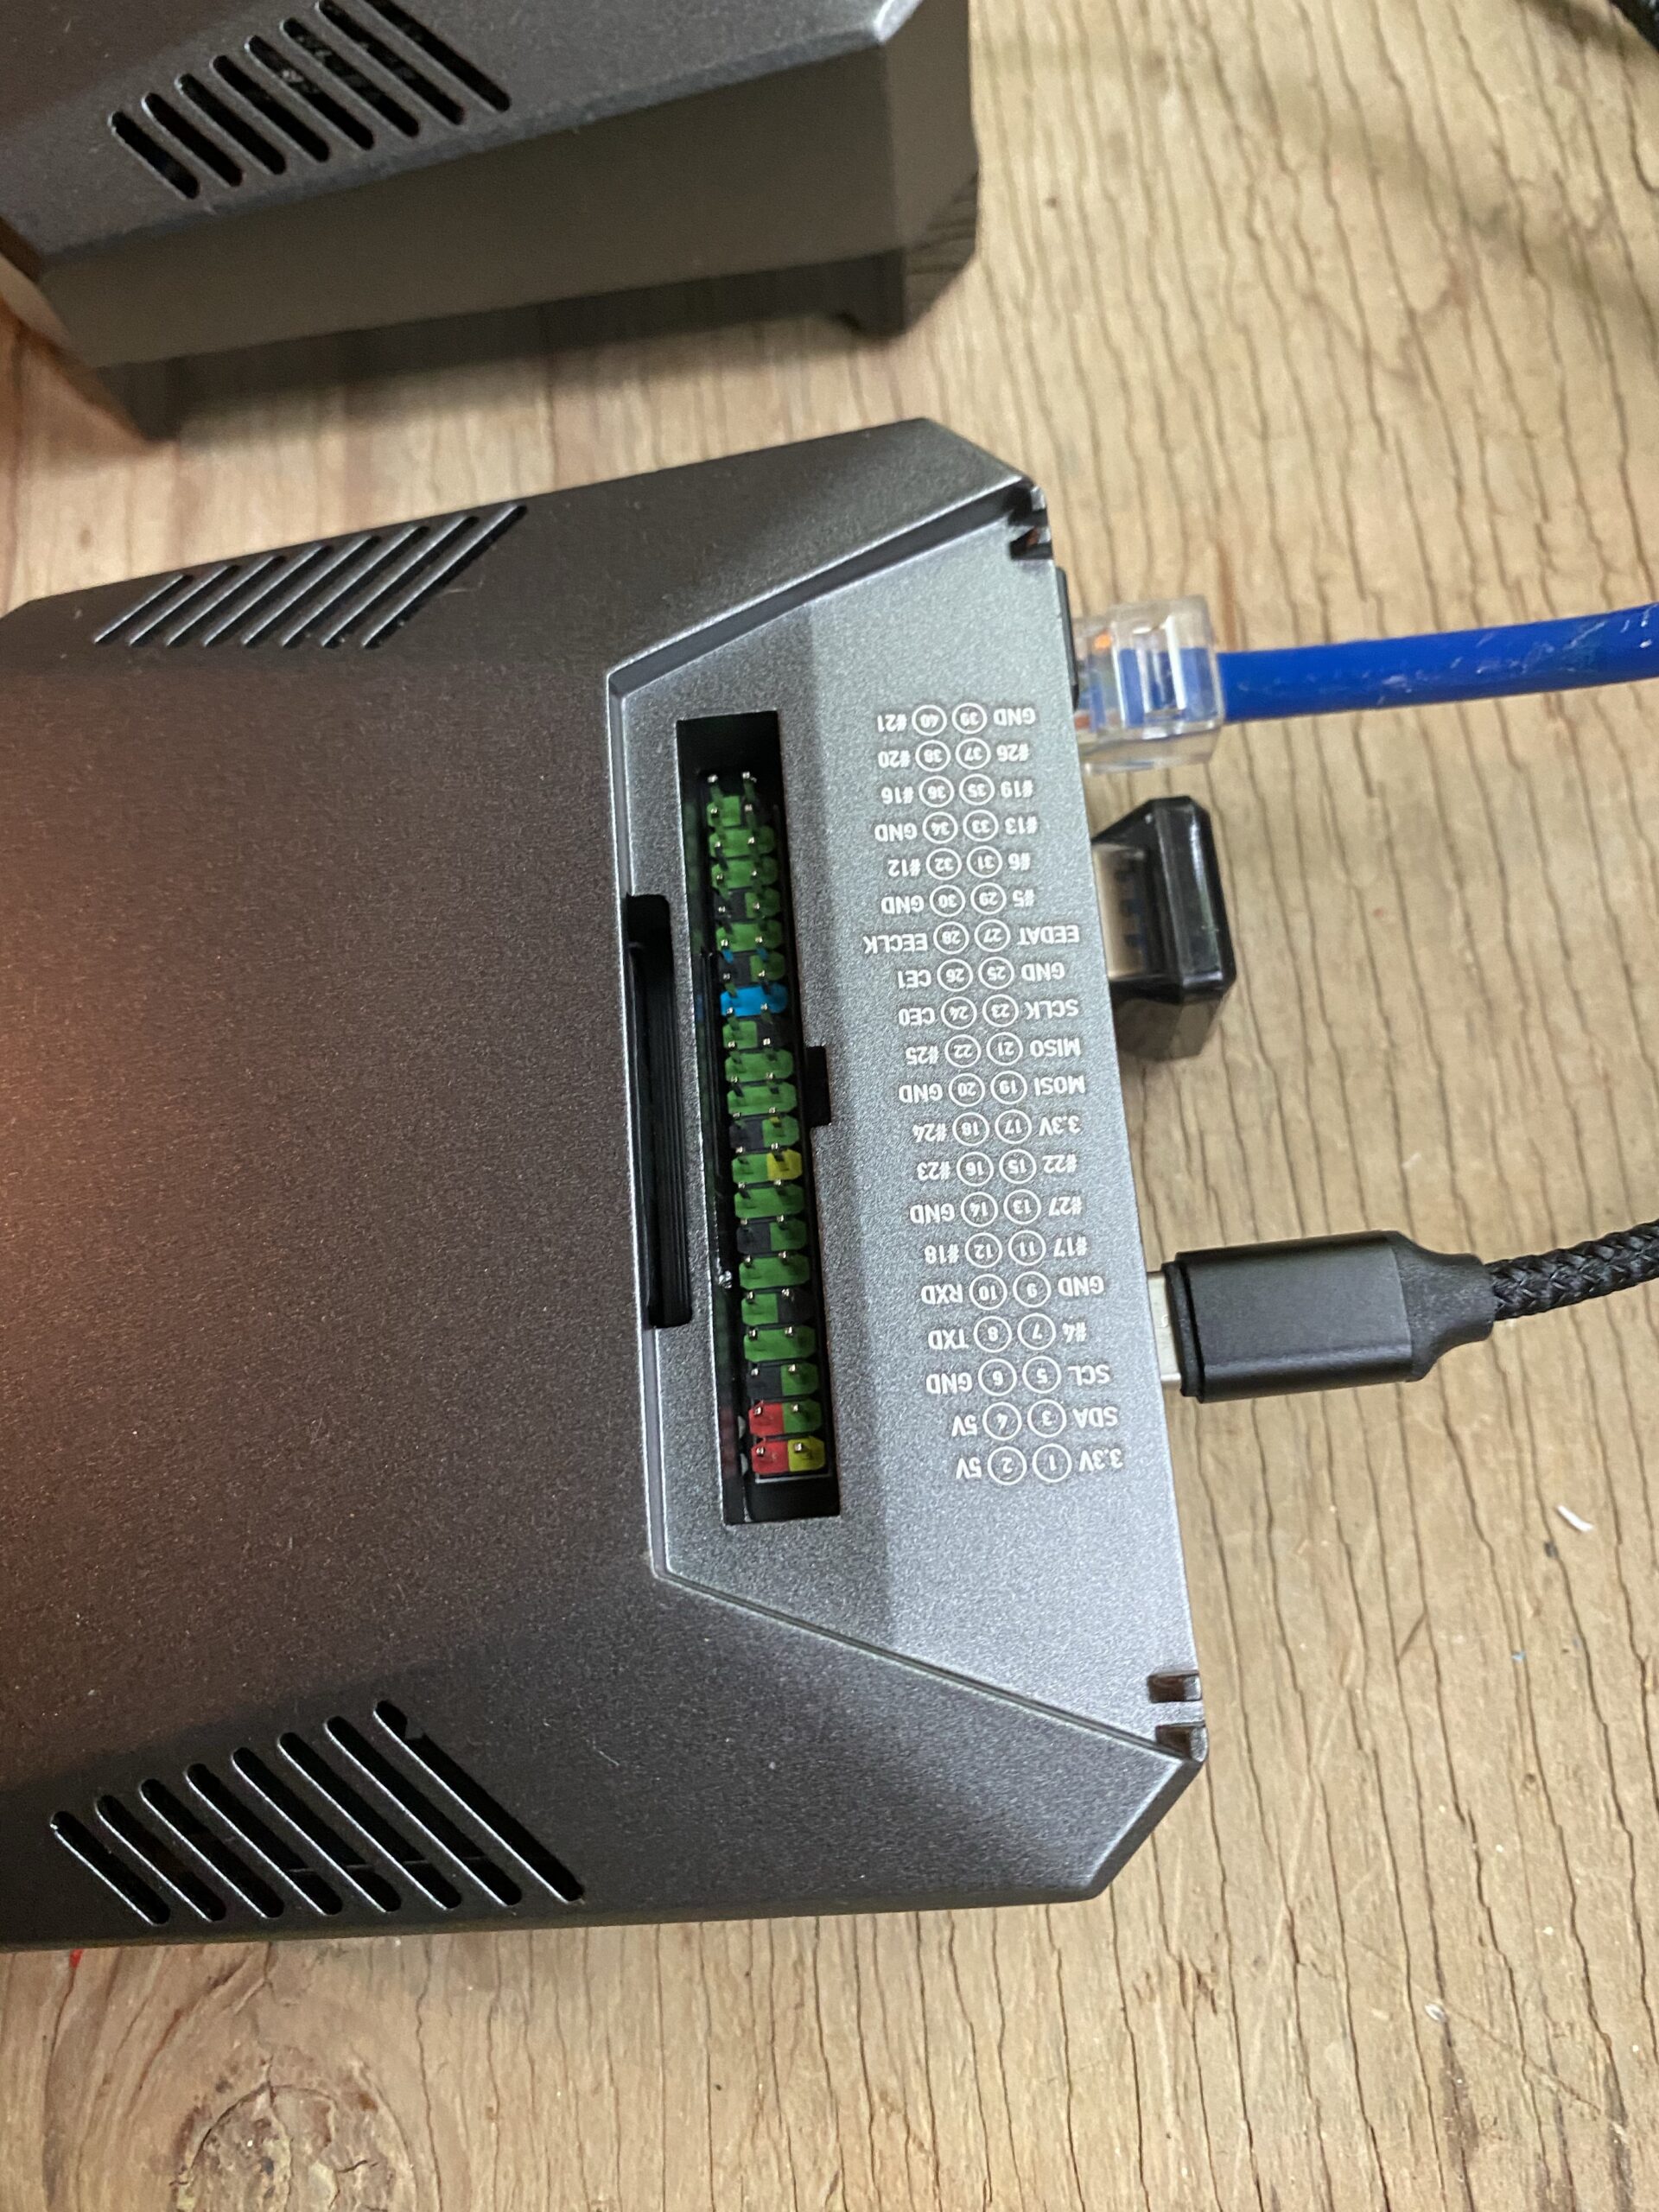
The I/O header should line up with all 40 pins and the ports should slip into position on the back of the case. The kit includes 4 flat head screws (the shorter ones) that go into the holes that aren’t used when you screw on the bottom.
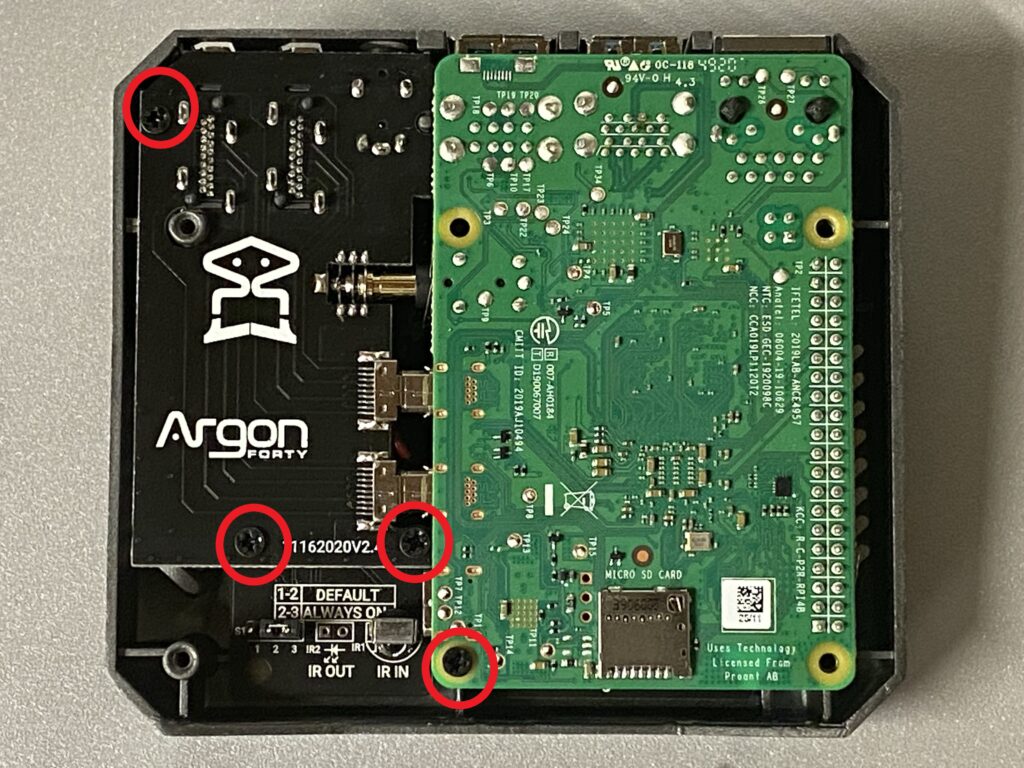
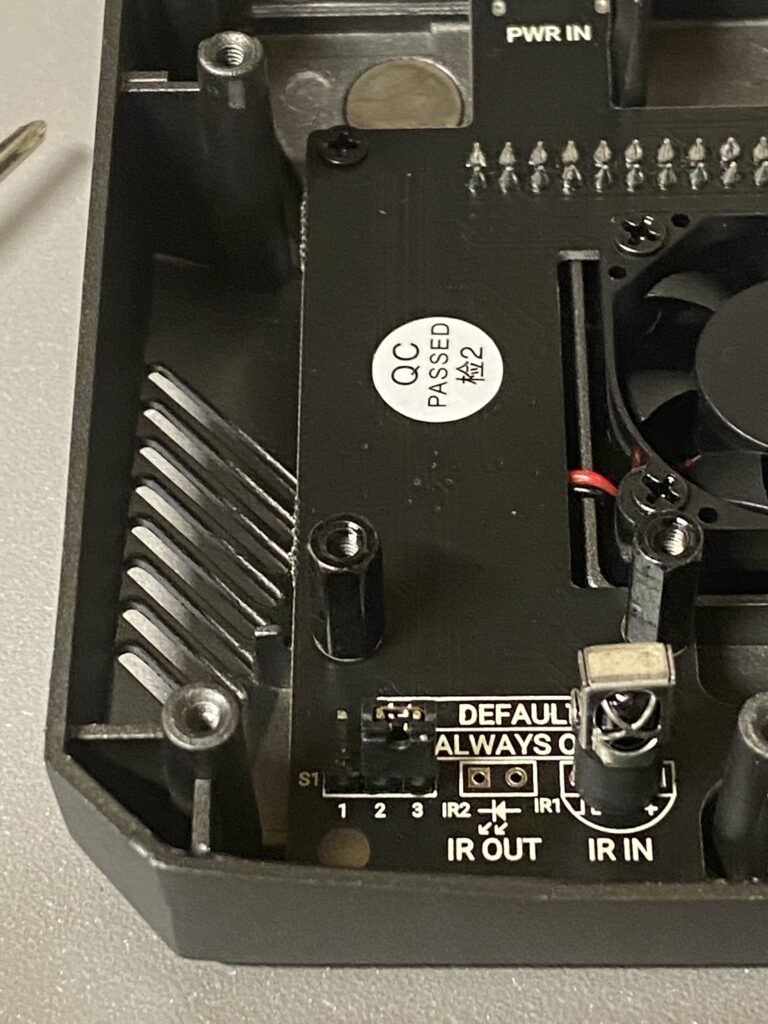
Before you close the case, give some thought to how you want the power button to work. The default (pins 1-2) is that you push the button, when you want the Raspberry to boot up. I’m moving mine to pins 2-3. That way the Raspberry is always on. If the power goes out and then comes back on, I don’t need to push the button. Notice, too, in the above photo, the IR receiver on the right! Nice feature if you’re using this for a Home Theatre system!
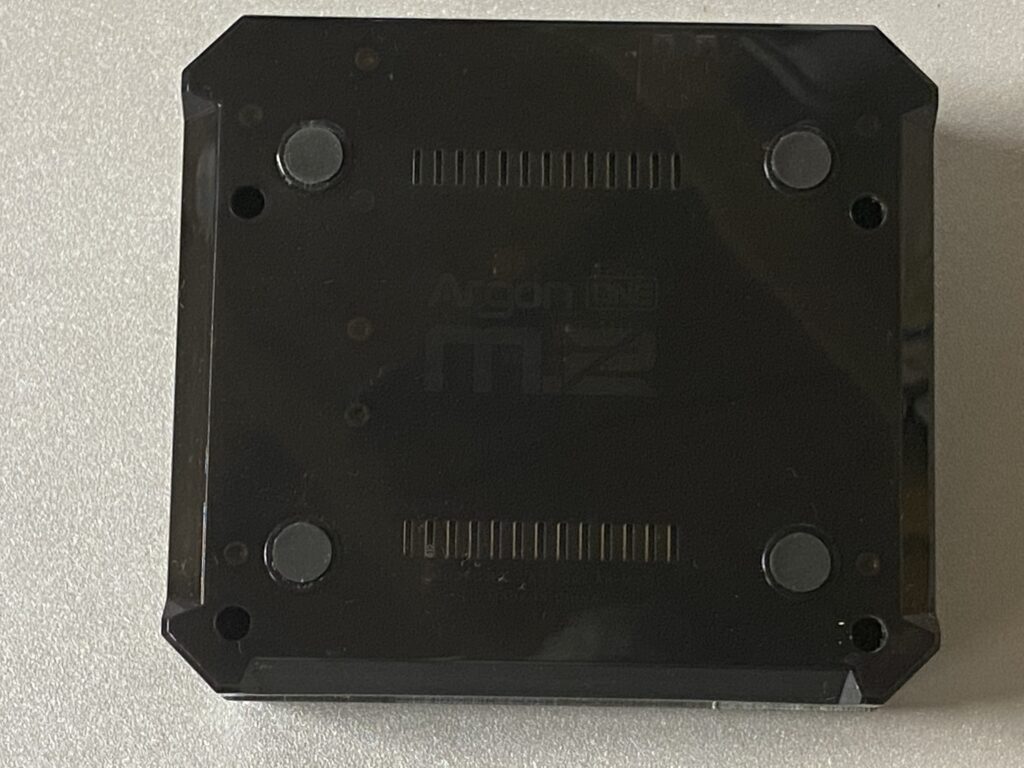
Put the bottom of the case into place. Use the four longer screws to attach. Peel the rubber feet off the backing sheet and stick them to the case in the indicated circles. Finally, push the USB bridge into the back of the case, connecting the drive board to the Raspberry!

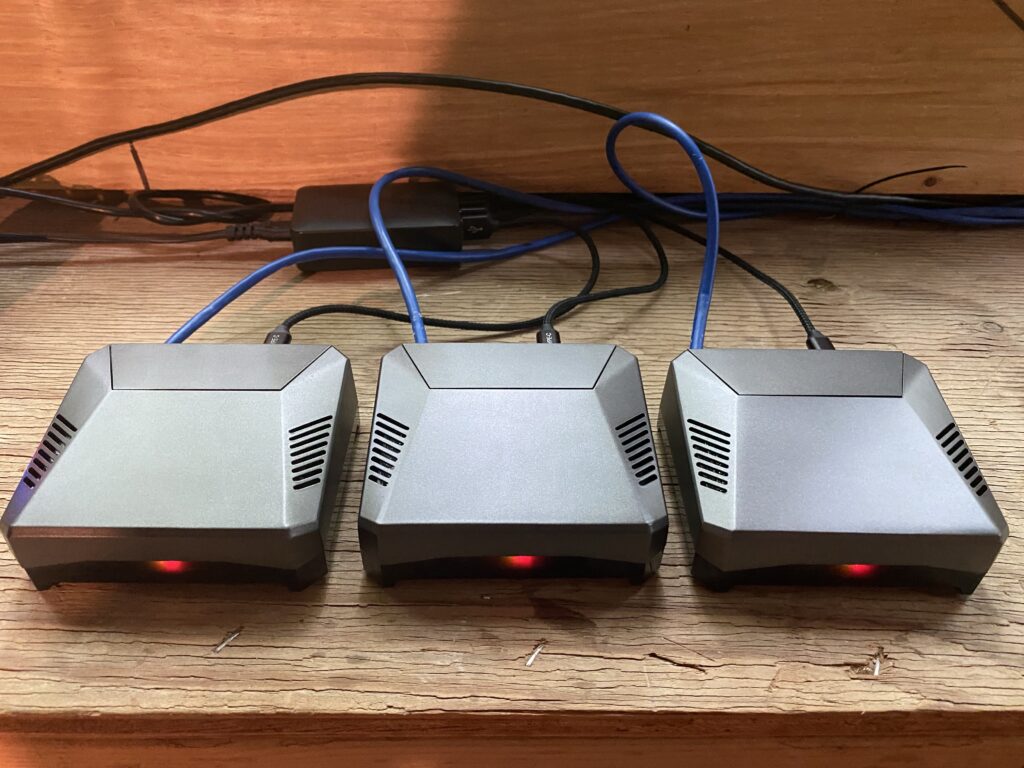
That’s it! Plug in your network cable and your peripherals (if you’re not going headless, like me) and power it up! Now, that you’ve got the hang of it, begin to build your FLEET!
The manual gives instructions on how to download the software that you can grab for free to control the fan. To set up the fan speed control program, just run this automated install program.
curl https://download.argon40.com/argon1.sh | bash
Now run “argonone-config” and set the fan speed by percentage, based on temperature! You can set it to “ON” or variable speed to move air faster as temperatures start to climb.
I was really impressed with the smoky black plastic that reveals the power light and the busy light when the Argon is powered up. Overall, this was a great build! Super high-quality parts that fit together perfectly. Nice heavy-weight case aluminum top that acts like a giant heat sink, that’s cooled by the internal fan, blowing air through the concealed fins inside the case. A removable magnetic lid reveals the I/O pins for more coding fun!
Hmmm…. Now, what else does Argon Forty sell?