Proxmox? Proxmox is awesome! Proxmox is the perfect hosting platform for all your VMs! Proxmox lets you easily build and break down full virtual machines and containers. They sell it better themselves. From the proxmox.com website:
Proxmox Virtual Environment is a complete open-source platform for enterprise virtualization. With the built-in web interface you can easily manage VMs and containers, software-defined storage and networking, high-availability clustering, and multiple out-of-the-box tools using a single solution.
I’ve been using Proxmox to host a couple of VMs in my home on my old LINUX servers. Home Assistant, Paperless-ngx, my recipe database, pi-hole, salt, Zabbix, Minecraft, Transmission, this website, etc. It’s rock solid, offers High Availability, it’s fast, and it’s free! If one of the servers crashes, Proxmox takes over and starts serving the application from another node! I haven’t lost Pihole since I made it a HA service! Thanks, Proxmox!
So, I got wondering: maybe I could quit fighting with Kubernetes and find and easier way to run my Raspberry Pi 4 cluster. Someone ported Proxmox to the ARM architecture! I found this project out on Git Hub. Looks like it’s worth a shot! Let’s take a look at installing Proxmox on a couple of Raspberry Pi 4’s! For the sake of this guide, I’m running as root. Login to the Pis and
sudo su -
It’s risky, but it saves a lot of typing. Just remember the power at your fingertips and
exit
once you’re done with the install. Everything on this page needs to be done as root.
Firstly, set up 3 Raspberry Pis with a fresh copy of Raspbian Bookworm, the latest release. I was using some old 8GB thumb drives for this project and the installation took about 3 hours! I went to Amazon and found these 32GB Sandisk thumb drives. The install time is now about 20 minutes! In fact, I got 2 three-packs because I wanted to try introducing “ceph” to my little HA cluster, but more on that later…
Once you have Bookworm installed on all 3 Pis, configure them to use a consecutive range of IP numbers. Not a requirement, but just convenient during setup/troubleshooting. Here’s the host file from one of the Raspberries:
192.168.1.26     pimox1
192.168.1.27     pimox2
192.168.1.28     pimox3
Edit your host files (/etc/hosts) to contain just your 3 Pis and their IP addresses before you go any further. Remove everything else from the files. I also added these IP addresses to dns, so I can browse to them by name but it’s still important to add them to your /etc/hosts file because once we cluster them, they’ll be really chatty.
Next, we’ll need to add the Proxmox port repo. You can use the following commands.
First, add the gpg key for the repo:
curl https://mirrors.apqa.cn/proxmox/debian/pveport.gpg -o /etc/apt/trusted.gpg.d/pveport.gpg
Create the pveport.list file and populate with mirror info:
echo "deb [arch=arm64] https://global.mirrors.apqa.cn/proxmox/debian/pve bookworm port">/etc/apt/sources.list.d/pveport.list
Then you’ll need to update the repo cache. Let’s run an upgrade, too, just to make sure Bookworm is up to date:
apt update
apt -y upgrade
Now that we’re ready, let’s install the Proxmox port. You can do this on all 3 Pis concurrently.
apt install -y proxmox-ve
Once the installation is completed, you’ll need to reboot all 3 hosts.
reboot
Once the Pis are back online, try the URL of the first Proxmox node at port 8006:
https://192.168.1.26:8006
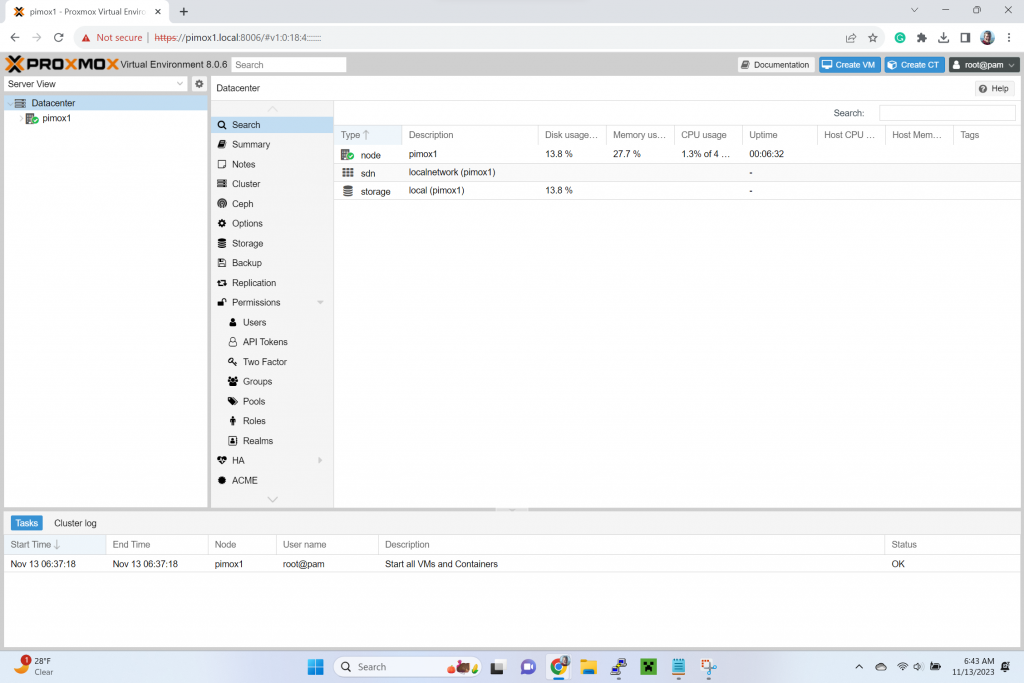
The login is root and your root password. Hopefully, you should see the main Proxmox screen being served by your Raspberry!
We did it! One tiny bit of housekeeping while we’re thinking about it. For some reason, the repo definition needs to have the architecture defined. The install changes it back from the one we put in, so you might need to change it back.
vi /etc/apt/sources.list.d/pveport.list
and ensure that the square bracketed part is intact:
deb [arch=arm64] https://global.mirrors.apqa.cn/proxmox/debian/pve bookworm port
The next port will look at getting these new Proxmox nodes clustered and talking to each other.
Hi,
Very clean and simple tutorial to follow, thanks a bunch !
Unfortunately, I’m stumped… I installed everything correctly, and I’m able to launch proxmox with it’s url, but… it refuses https and switch to http. And then, it doesn’t accept my login/password (either ‘root’ or the account with root privileges, let’s call it ‘si’). It becomes a failed login.
I’ve tried several combination, but… to no avail. Would you help out ? (I don’t find anything on the net about that problem apart from : “use the password defined during installation” – the problem being it doesn’t follow a normal installation, because it doesn’t ask for password and I don’t get a WebUI installation process where I should select LV space and stuff like that – like a regular installation process on an officially supported Proxmox install)
Had same problem. Uninstalled/reinstalled a few times. The final magic incantation is this:
Before installing Proxmox, on each Pi, you have to set a root password. SSH to each Pi and then:
In the “sudo su -” chain of commands insert:
passwd
[this lets you create password for the root user]
….
reboot
Good Morning John,
Nicely done, Short concise and straight to the point. Good Job ob you. When does the next article come out please?
Thank you
I installed proxmox on raspberry pi 5. Then I try to create a debian container. But it gives an error regarding the internet settings and does not create the container. “unable to open file ‘/etc/network/interfaces.tmp.582091’ – No such file or directory
TASK ERROR: unable to create CT 111 – error in setup task PVE::LXC::Setup::post_create_hook”
When I leave the interfaces setting empty, I can create containers. This time I couldn’t connect to the internet.
Can you help me. Thanks.
Sorry for my bad english.
Hi,
I’ve found same error. Simple way of workaround is left ip/gateway blank. Machine is created, and the you can set ip/gateway without problem.
Hope it helps somebody.
My kit is a Raspberry PI 4 with 8GB, and an SD card for testing purposes.
It seems when you hit this failure, it means you cannot use the Proxmox supplied templates. You must use the “cloud” templates instead.
This is what told me cloud container images could work when the standard container images do not.
https://www.bachmann-lan.de/proxmox7-ve-auf-dem-raspberry-pi-4-installieren/
Then from this, I found where to get the cloud images from…
https://discuss.linuxcontainers.org/t/where-to-download-images-from-wanting-url/3057
So you can get the current builds of many OS’s from …
https://images.linuxcontainers.org/images/
From there navigate through the directories of your chosen OS looking for the cloud release, then pick the latest day and from there use the rootfs.tar.xz file as the basis for the proxmox container template.
For example, I was looking for a current Debian cloud release, and found the url below.
In Proxmox, under the Storage, select CT Templates and click “Download from URL”
URL:
https://images.linuxcontainers.org/images/debian/bullseye/arm64/cloud/20240925_05%3A24/rootfs.tar.xz
File name: file name
debian-bullseye-arm64-cloud-20240925_05.tar.xz
I was then able to deploy a container using the image!