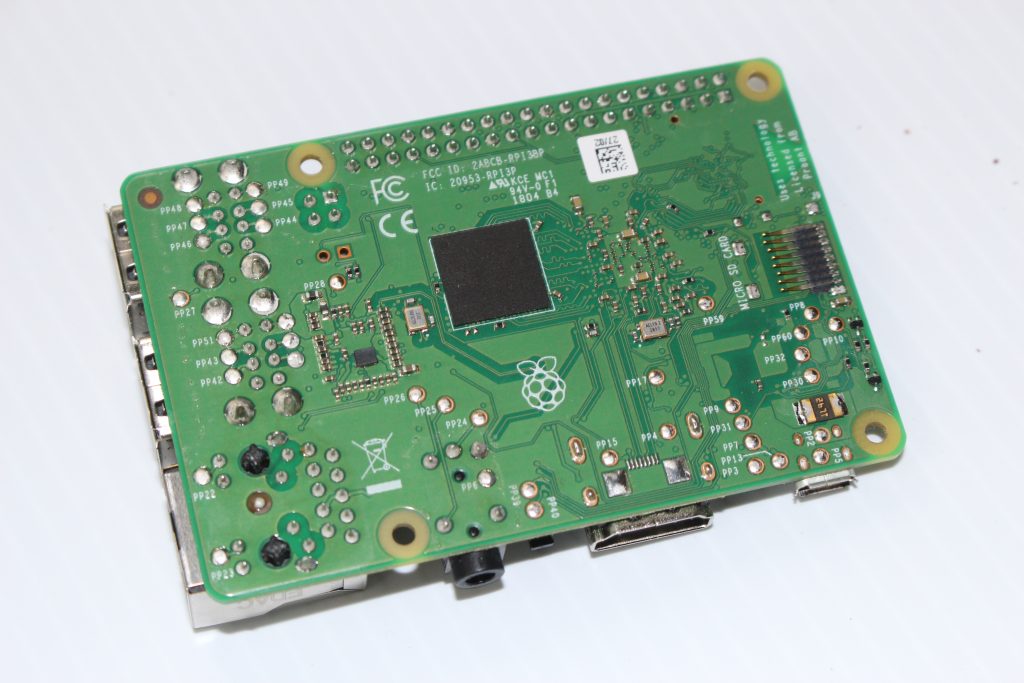
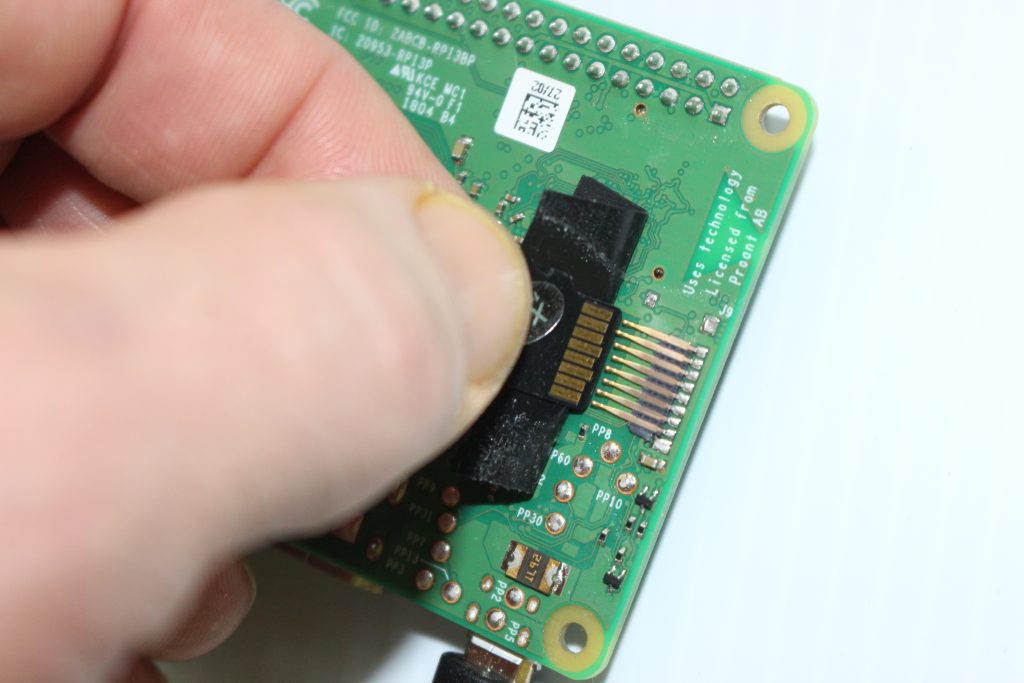
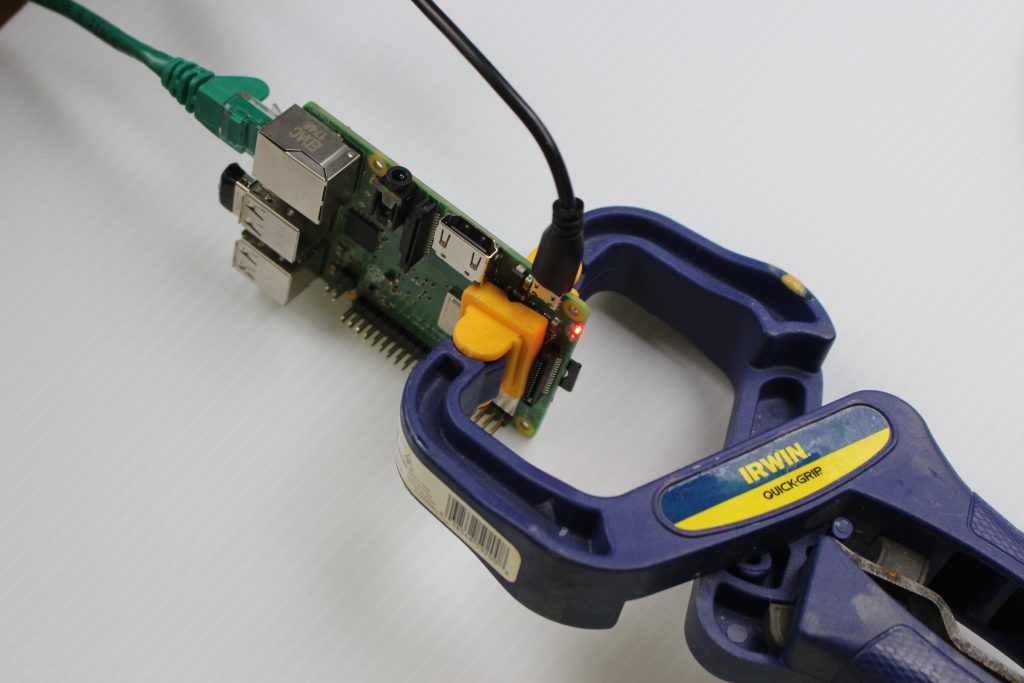
Turns out that $35 computers are fragile! Ugh. My raspberries get a lot of abuse. I’m pretty hard on stuff, but I don’t usually BREAK it! This happened when I dropped this card and it landed edgewise on its SD card. Well, waste not, want not! I gotta fix this. A little McGuyvering and I can get this card back into circulation. Let’s see, looks pretty simple. I’ll just tape the SD card into place.
…and just to be sure – a clamp – to make sure I have a solid connection to my operating system. I don’t want the SD card wriggling loose in the middle of an operation.

Yay! It boots! Now, I just need to get everything copied over to the USB thumb drive. Probably the easiest method is using piclone, with a caveat: you need a display! piclone is a graphical utility for X. I don’t have an HDMI screen nearby to plug in for this operation so I’ll do the next best thing: export DISPLAY! I can actually export an X-based window to my Windows computer with a piece of software called Xming. Xming is an X11 display server for Microsoft Windows. In X11, you get the concept of a display server–that is a display that will serve up the images created by your X11 apps, like piclone. If you want to try this, download Xming here. Install it with the defaults-the only change I made to the defaults was to add a icon to the desktop.
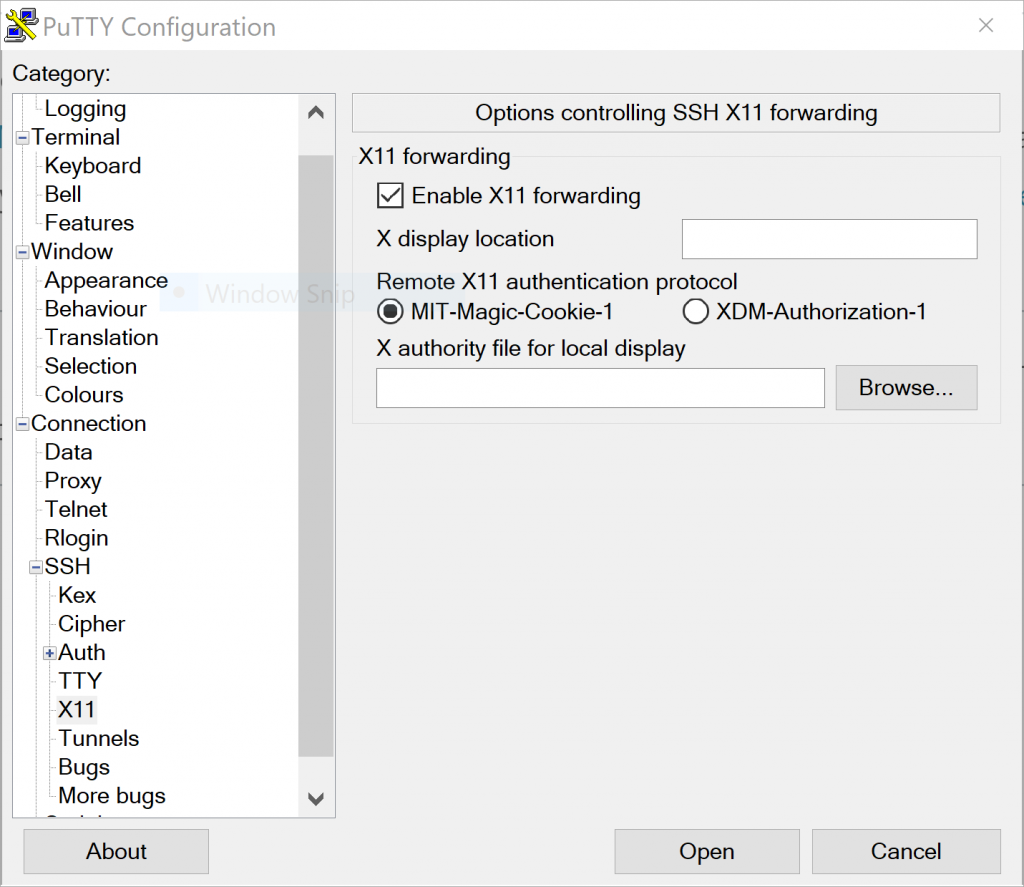
When you open putty, enter the name of your Raspberry and the IP address in the proper locations, and then scroll down in the Category window on the left to expand SSH >X11. Check the box for “Enable X11 forwarding”. This will tell the Raspberry not to try to display your Xwindows on the local display, but instead “export” them to your Windows computer! Now, Open the connection to the Raspberry, login as “root” and run “piclone”.
You should get a little popup on your screen, like this:
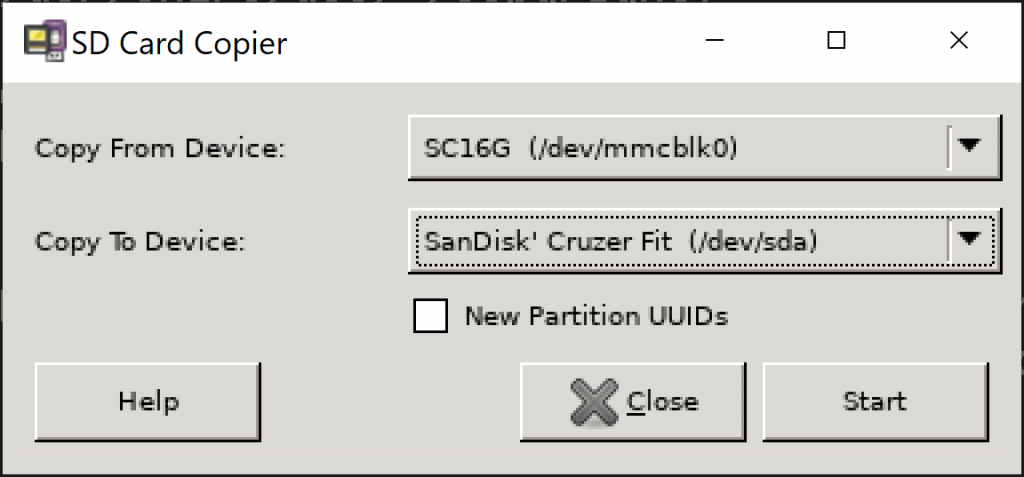
Use the drop-downs to set your source and destination. The Copy From Device will be your SD card. Raspbian calls this mmcblk0. You should get a pretty description for your thumb-drive. Then click Start. Typically, this operation will take 15-25 minutes. If Start is grayed-out, click the “New Partition UUIDs” box. Once it’s done, you have a couple more steps. I was happy that it finished without my having to go reattach the SD card and readjust the wood clamp!
Edit /boot/cmdline.txt This is the file that tells the boot process where to look for the operating system! My cmdline.txt looked like this:
root@raspberrypi:/boot# vi cmdline.txt
console=serial0,115200 console=tty1 root=PARTUUID=97709164-02 rootfstype=ext4 elevator=deadline fsck.repair=yes rootwait quiet splash plymouth.ignore-serial-consoles
so I edited it to look like this:
root@raspberrypi:/boot# cat cmdline.txt
console=serial0,115200 console=tty1 root=/dev/sda2 rootfstype=ext4 elevator=deadline fsck.repair=yes rootwait quiet splash plymouth.ignore-serial-consoles
How did I come up with /dev/sda2? Simple. Run lsblk from the command line:
root@raspberrypi:~# lsblk
NAME MAJ:MIN RM SIZE RO TYPE MOUNTPOINT
sda           8:0 1  7.5G 0 disk
├─sda1        8:1 1  256M 0 part
└─sda2        8:2 1  7.2G 0 part
mmcblk0     179:0 0 14.9G 0 disk
├─mmcblk0p1 179:1 0  256M 0 part /boot
└─mmcblk0p2 179:2 0 14.6G 0 part /
The sda device is partitioned into two parts: sda1 and sda2, just like the SD card is. lsblk shows that sda1 is 256M and that’s the copy of mmcblk0p1 which is mounted as /boot. So, once you’ve got /boot/cmdline.txt edited with the new /boot partition, power down the raspberry, pull the SD card, and power-up! I’ve found that booting from USB is a little slower, but you should get a login prompt in a bit. Run lsblk again:
root@screen:~# lsblk
NAME MAJ:MIN RM SIZE RO TYPE MOUNTPOINT
sda           8:0 1 7.5G  0 disk
├─sda1        8:1 1 256M  0 part /boot
└─sda2        8:2 1 7.2G  0 part /
mmcblk0     179:0 0 14.9G 0 disk
├─mmcblk0p1 179:1 0 256M  0 part
└─mmcblk0p2 179:2 0 14.6G 0 part
root@screen:~#
Progress! Both partitions on the USB drive are getting mounted at boot! Now, one final edit. Remember we cloned the SD card before we edited /boot/cmdline.txt? We need to edit that again, because, at this point we’ve got an old version of the file. Same change as before – replace “root=PARTUUID=97709164-02” with “root=/dev/sda1”
Pull the SD card and use it somewhere else! I’ve got a functioning Raspberry again!! OK… new project…
{{CODE1}}