This post will cover the process of getting WordPress on a freshly booted Raspberry Pi. Follow my Newbie Guide to get ready for this installation. I like to install all the prerequisites at once and then install WordPress separately. Yes, you CAN “apt install wordpress”, but I like to do it the way that WordPress tells you to, which is to download the most recent and just unpack it in place.
First, an Apache Server
Run an “apt update” and a “apt upgrade” to get things up-to-date on your Raspberry. Then you can install the web server and the WordPress prereqs in one swell foop!
root@webserver:~# apt install php apache2 php-mbstring php-imagick php-zip
Reading package lists… Done
Building dependency tree
Reading state information… Done
The following additional packages will be installed:
apache2-bin apache2-data apache2-utils ghostscript gsfonts imagemagick-6-common libapache2-mod-php7.3 libapr1 libaprutil1
libaprutil1-dbd-sqlite3 libaprutil1-ldap libheif1 liblqr-1-0 libmagickcore-6.q16-6 libmagickwand-6.q16-6 libzip4
php-common php7.3 php7.3-cli php7.3-common php7.3-json php7.3-mbstring php7.3-opcache php7.3-readline php7.3-zip ssl-cert
ttf-dejavu-core
Suggested packages:
apache2-doc apache2-suexec-pristine | apache2-suexec-custom ghostscript-x php-pear libmagickcore-6.q16-6-extra
openssl-blacklist
The following NEW packages will be installed:
apache2 apache2-bin apache2-data apache2-utils ghostscript gsfonts imagemagick-6-common libapache2-mod-php7.3 libapr1
libaprutil1 libaprutil1-dbd-sqlite3 libaprutil1-ldap libheif1 liblqr-1-0 libmagickcore-6.q16-6 libmagickwand-6.q16-6
libzip4 php php-common php-imagick php-mbstring php-zip php7.3 php7.3-cli php7.3-common php7.3-json php7.3-mbstring
php7.3-opcache php7.3-readline php7.3-zip ssl-cert ttf-dejavu-core
0 upgraded, 32 newly installed, 0 to remove and 0 not upgraded.
Need to get 11.2 MB of archives.
After this operation, 35.4 MB of additional disk space will be used.
Do you want to continue? [Y/n]
Hit enter and let ‘er rip! Once the process finishes, point your browser at your local address and check your handy work:
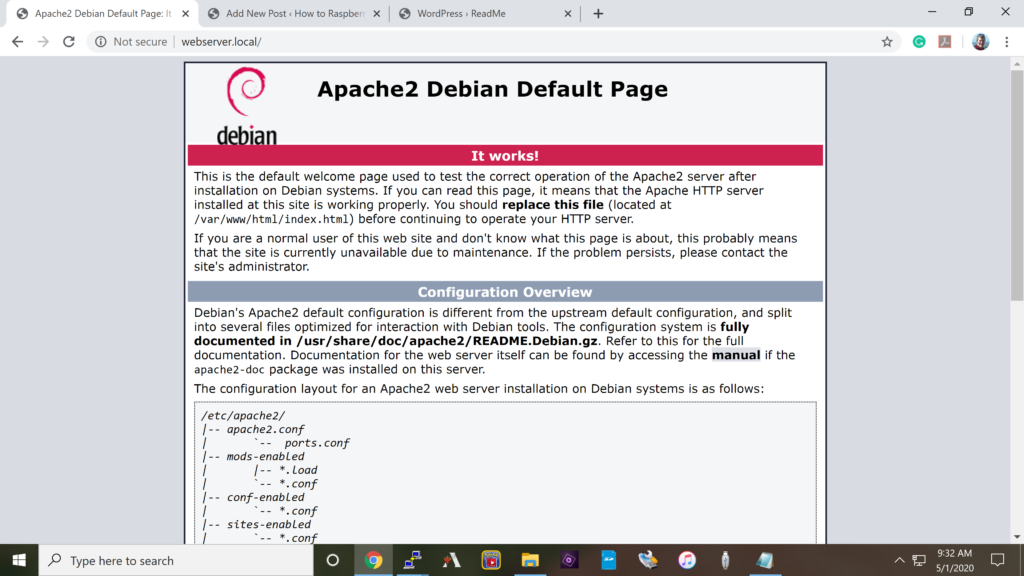
So, far so good. Next step is to put the WordPress software into place. Currently, we’re seeing the “It works!” page because apache isn’t finding anything of interest to serve in the /var/www/html directory. Let’s change that by uncompressing the WordPress distribution in that same directory.
root@webserver:~# cd /var/www/html/
root@webserver:/var/www/html# ls
index.html
root@webserver:/var/www/html# rm index.html
root@webserver:/var/www/html# wget http://wordpress.org/latest.tar.gz
--2020-05-01 09:39:08-- http://wordpress.org/latest.tar.gz
Resolving wordpress.org (wordpress.org)… 198.143.164.252
Connecting to wordpress.org (wordpress.org)|198.143.164.252|:443… connected.
HTTP request sent, awaiting response… 200 OK
Length: 12234700 (12M) [application/octet-stream]
Saving to: ‘latest.tar.gz’
latest.tar.gz 100%[=====================================================>] 11.67M 3.20MB/s in 4.5s
2020-05-01 09:39:13 (2.62 MB/s) - ‘latest.tar.gz’ saved [12234700/12234700]
root@webserver:/var/www/html# tar xvfz latest.tar.gz
---snip---wordpress/wp-admin/themes.php
wordpress/wp-admin/options-reading.php
wordpress/wp-trackback.php
wordpress/wp-comments-post.php
root@webserver:/var/www/html#
Once the untar completes, there’s a little clean up to do and then we’ll be all WordPress. You need to move the WordPress files into place and correct the permissions.
root@webserver:/var/www/html# ls
latest.tar.gz wordpress
root@webserver:/var/www/html# cd wordpress/
root@webserver:/var/www/html/wordpress# mv * ../
root@webserver:/var/www/html/wordpress# cd ..
root@webserver:/var/www/html# rm wordpress latest.tar.gz -rf
root@webserver:/var/www/html# cd ..
root@webserver:/var/www# chown -R www-data:www-data html/
Good! Now try your browser:
Your PHP installation appears to be missing the MySQL extension which is required by WordPress.
Ugh! Not out of the woods, yet. Install a couple more prereqs:
apt install php-mysql php-gd php-xml
Now restart the web server and try the browser again:
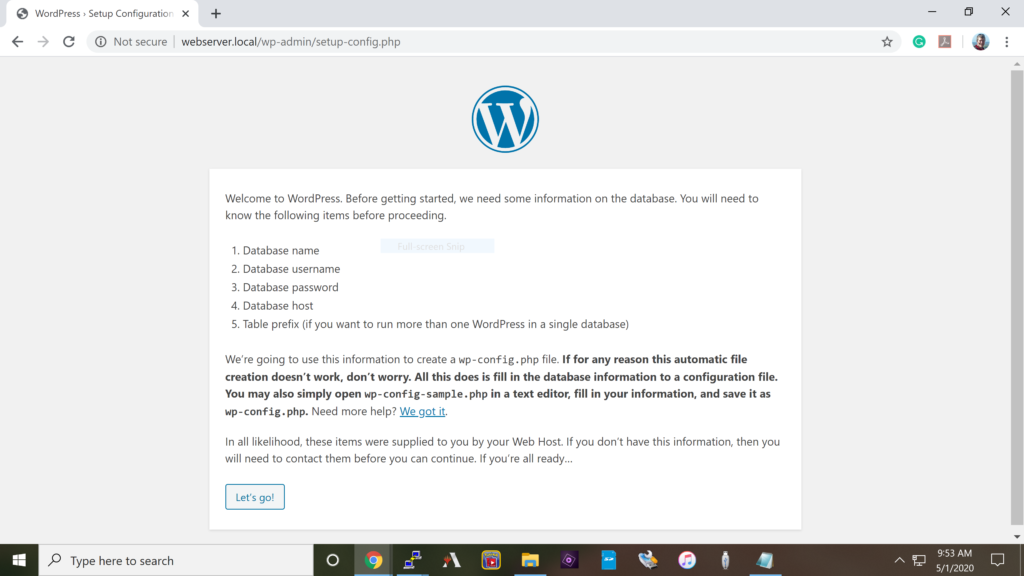
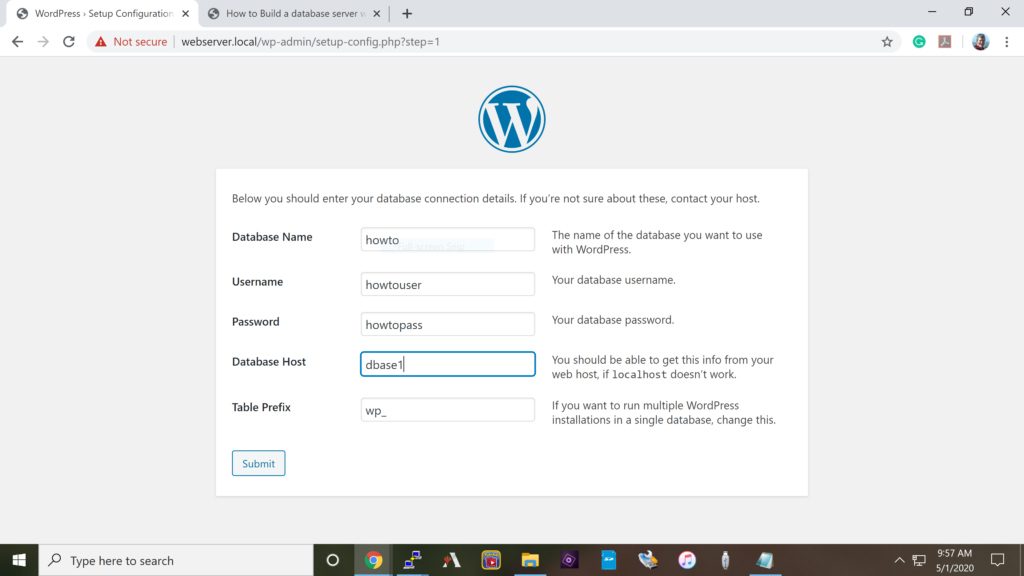
That’s looking better! Now, find your notes from your database setup and get ready to answer some questions to get WordPress talking to the MySQL server that we built:
I could not get my WordPress to connect to my MySQL server, so I jumped over to the MySQL server and added this this to the end of /etc/mysql/my.cnf and then restarted mysql:
[mysqld]
bind-address = 0.0.0.0
One more try at the Database connection screen and lo-and-behold:
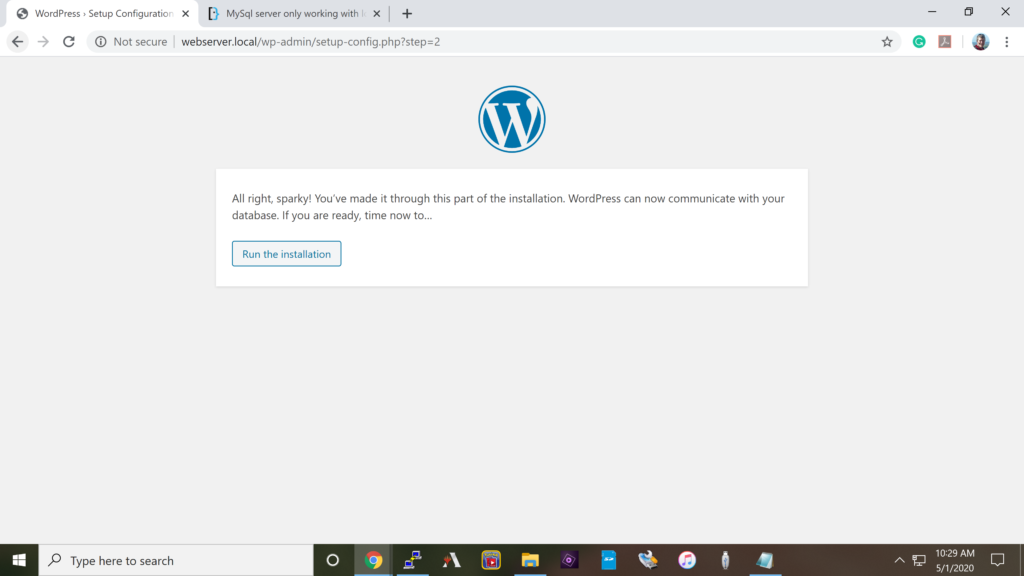
From this point, the hard parts are done. We’ve installed all the software, connected to our database backend, and made sure that all our permissions are working. Just follow the WordPress screens and prompts and it will land on the WordPress login page. Type in your credentials and you’re off-and-running!
I won’t leave the usual awful comment along the lines of ‘thank you sir this article has saved my life, my family and my pets’…
Although i would like to say that this is an excellent tutorial as I was stuck setting up a test intranet on a new pi 4 i’ve just received…
This is the part that i really struggled to find help with on any other sites “apt install php-mysql php-gd php-xml”
That syntax saved my life…ah damn i said it! 🙂
Thanks again.
Thanks! I struggle to make sure these pages are accurate. I go through each install a couple of times. I’m glad it paid off!
What’s the next project? Do I need to do it first?
Excellent tutorial! Unfortunately I’m failing right at connecting to the database. I’ve followed the previous tutorial on how to build a database server without any issue and I’ve made sure that the bind address is correct. Any thoughts?
For me, it’s always the way that the database sees the incoming connection. Maybe you need your FQDN of the WP computer. Maybe try its IP address. Go through the user creation process in MySQL for your WP user and don’t forget to FLUSH PRIVILEGES;