Got a 3D printer? Tired of running to the printer to swap SD cards with your model files? Do you hate tying up your laptop for hours on end to print on your 3D printer? Wouldn’t it be nice if there were a print server on your home network that up could just upload files to your 3D printer? Good news! There IS a print server for 3D printing! OCTOPRINT! What’s better than running the Octoprint 3D print server? Running Octoprint on a Raspberry Pi, of course! This post steps you through setting up Octopi, the Octoprint release for the Raspberry Pi. A simple installation for hours of fun.
Octoprint has a huge list of features, but a couple things that caught MY eye:
- Control and monitor every aspect of your 3D printer and your printing jobs right from within your browser.
- OctoPrint’s powerful plugin system allows extending its functionality with awesome plugins from the community.
- Access the embedded webcam feed and watch remotely how your printer is creating your newest thing.
- Get constant feedback regarding the current progress of your print job.
- Take a look at the integrated GCODE visualizer to see a rendition of the GCODE you are currently printing.
- Keep an eye on the temperatures of your hotends and print bed and adapt them on the fly.
Alright! Alright! Enough talk! Let’s get Octopi installed. Here’s what you need:
- Raspberry Pi 3B or 3B+
- Raspberry Pi 3 Power Supply
- an SD card
- a USB cable to attach to your 3D printer
- a case (optional)
- a fan (optional)
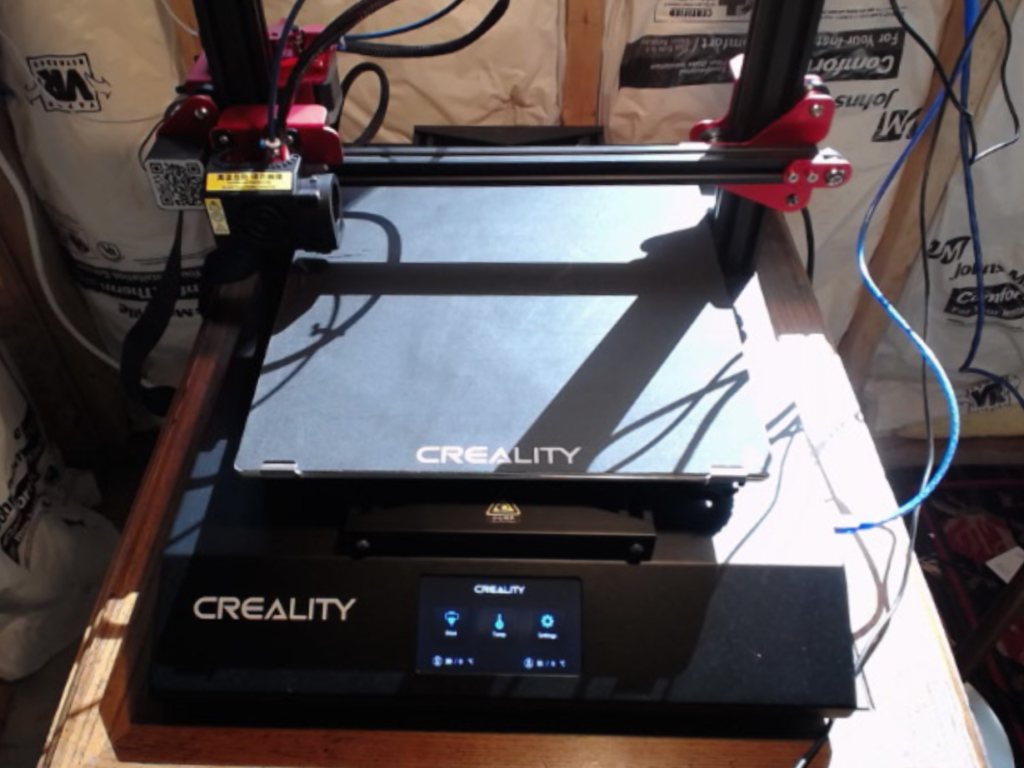
Essentially, what we’re going to do is create a print server on your network that is directly attached to your 3D printer with the USB cable. That printer server, the Raspberry, runs a website that you can easily upload your GCODE files to for printing. PLUS, you can add a Raspberry Pi camera or a USB webcam to the setup that gives you real time remote viewing of your model being printed AND automatically creates time-lapse mpg movies!
OK. One last feature call out. The whole thing is installable as an SD card bootable image! Head over to Octprint.org’s download page and grab the image. Burn it to an SD card and put it in a Pi3. Attach the USB cable to the Pi and the printer and hook up the power supply. If all goes well, you should be able to access your new printer server at: http://octopi
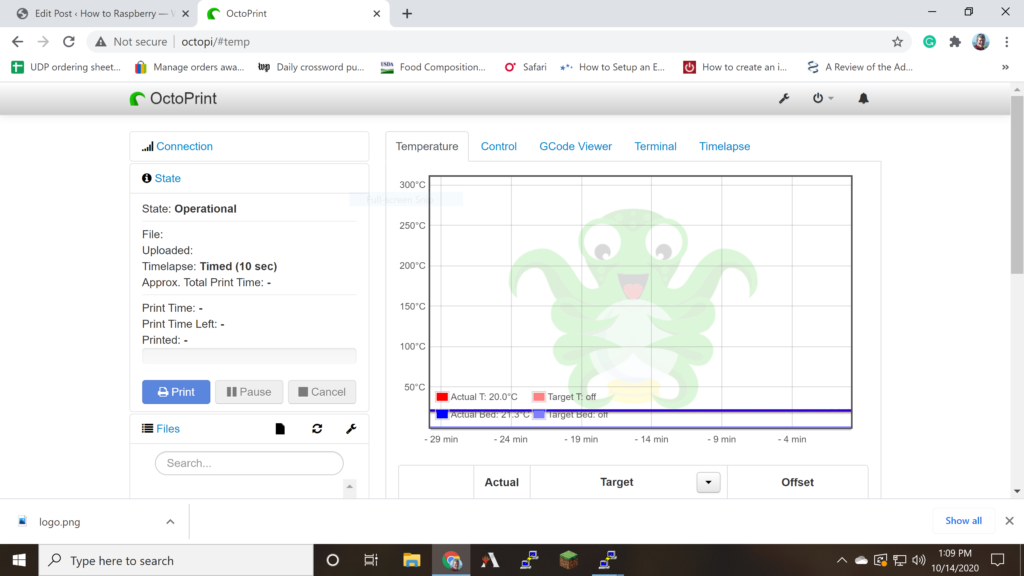
…and you will be greeted by the Octopi interface. On the top right-hand side, you should see a wrench icon. Click that to get into settings. Adjust the top two choices to configure the hardware serial protocol values for your printer. Here’s what I’m using. Your mileage may vary.
- Serial Port: /dev/ttyUSB0
- Baudrate: 115200
As for the printer profiles, hit each of the tabs across the top and fill in the values, either from your manual or from OctoPrint’s community site. Next, check the camera settings. In the next section down, called “Features”, you’ll see the webcam stuff. This works with the Raspi Cam or a USB connected webcam. I’m using this one and the quality is MUCH better than the raspi cam:
When you’re ready to print, scroll all the way to the bottom of the page and you’ll see the blue Upload button. Hit that and browse your local computer for the GCODE that you wish to print. Upload it and click the little printer icon under the file name in the print queue. Cool, huh?
THE ONLY GRIPE I have with this software is its (in)ability to estimate print times! Evidently, someone else did, too, but THEY wrote a plugin to fix it. Hit the wrench again for the setup menu and then scroll down to plugins. Search for PrintTimeGenius Plugin (2.2.6) and enable it. Now, you have a truly awesome print server for 3D printing.