Do you need an easy way to share a couple of hard drives with the family across the network?
Build a Dedicated Windows Share?
You may have looked into buying a Synology or a Netgear file server, but they’re expensive. You may have looked at setting up sharing on your PC, but then you have to remember to leave your PC on 24/7. What if your PC is a laptop and you need to take it with you, but your family was saving files on your “share”. You could buy a cheap PC and name that the file server. You could run something like FreeNAS, but that, too, is a little pricey to dedicate a whole PC to provide the share.

SO, buy a Raspberry and dedicate THAT to being the file server. You’re not a LINUX / Raspberry OS programmer? No problem. Enter OpenMediaVault. OMV is a great package that transforms your Raspberry computer into a Network Attached Storage (NAS) that you can access with your Windows computers around your house.
Build a Raspberry Pi NAS
If you can follow my Beginner’s Guide (left side of this page) and ssh into your new Raspberry, you’ve completed the hardest part of this build. (Please start with a clean install. I tried running this command on a Raspberry that was already in use, and I got a ton of install errors because the installation routine relies on Saltstack to configure its services, but I already had salt configured to talk to MY config server. Caveat emptor #2: install will fail if IPv6 is turned off. Anyways, image your SD card, boot up, set the password, timezone, and localizations. Run “apt update” and “apt upgrade”. Reboot. From there, all you have to do is run a single command!
wget -O - https://github.com/OpenMediaVault-Plugin-Developers/installScript/raw/master/install | sudo bash
This command downloads an install script from OpenMediaVault’s git page and runs it as root. It installs and then configures many, many packages. It installs a webserver, an admin GUI, samba and NFS file sharing, a database server (for internal use), an FTP server, and more! It is creating a real network fileserver and an easy-to-use web-based interface to manage it! All told, it took about 15 minutes for the automation to build my Raspberry into a professionally built OpenMediaVault file server. Cool, huh?
First Look
Once the installation process completes, it will reboot, and you’re done with the command line. Fire up your browser and use the Raspberry’s IP address in the address bar. You should get OMV’s login screen.

Log in with admin. The default password for OpenMediaVault is openmediavault.
Hey, looks like you got that GUI based file server you’ve been dreaming about! From here? Explore! Poke around! Use the little sliders to turn on and off various services. Change the password! Me? I’m going to configure a RAID and create a storage volume to share with my network.
Create Network Storage
Just for fun, I thought I’d build a RAID out of thumb drives! So I plugged my favorite SanDisk 8GB min drives into the USB ports of the Raspberry and then clicked into Storage > Disks to have a look:
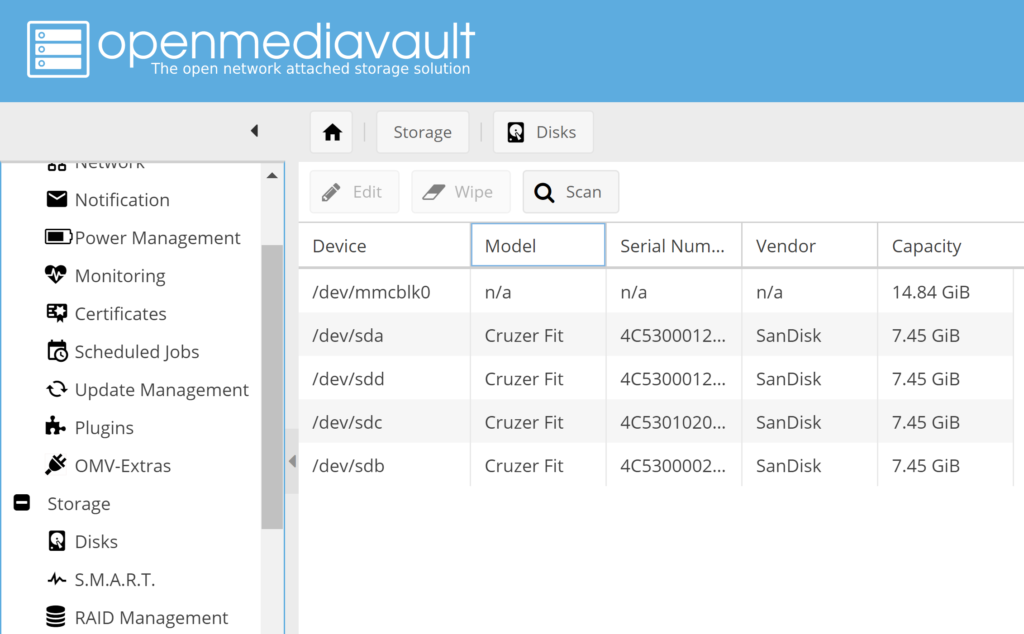
Yep! All four thumb drives and mmcblk0. DO NOT mess with mmcblk0! That’s the SD card and your whole world, well, at least this install. I clicked on each drive and then used the tools to wipe each disk. There’s nothing on these except old Raspberry OSs.
Next, click on RAID Management and Create a Volume and then add drives to it. Nope. OMV lets me know in no uncertain terms that USB drives are too unreliable to create any kind of useful RAID. In fact, I couldn’t share out those thumb drives either! Alright, let’s just use a USB external hard drive. Don’t fall into the false assumption that you can just use some of the extra space on your OS drive. OMV WILL NOT ALLOW YOU TO STORE YOUR OS AND YOUR DATA ON THE SAME DRIVE. I’ll pull one of the thumb drives and plug in a real drive with more capacity. Click on File Systems (just under RAID management) and then click create.
Use a name that you like and click OK. It will FORMAT the drive and create a sharable volume using the label that you specified. You don’t need to wait. You can close that dialog and start working on the next USB device, if you have more drives.
We need more power!
One thing to keep in mind is power. External hard drives require electricity and probably more than the Raspberry Pi offers on its USB ports. When selecting storage for your Raspberry Pi based OpenMediaVault, look for USB drives with AC power adapters. You know the ones with two cables: a USB cable to go to the computer and another cable that plugs into the wall for power. You might get away with a thin portable USB drive. You’re going to have to experiment with what you’ve got. I used an Ultrathin Seagate 2T portable and I only have one hanging off my Raspberry.
Sharing is Caring
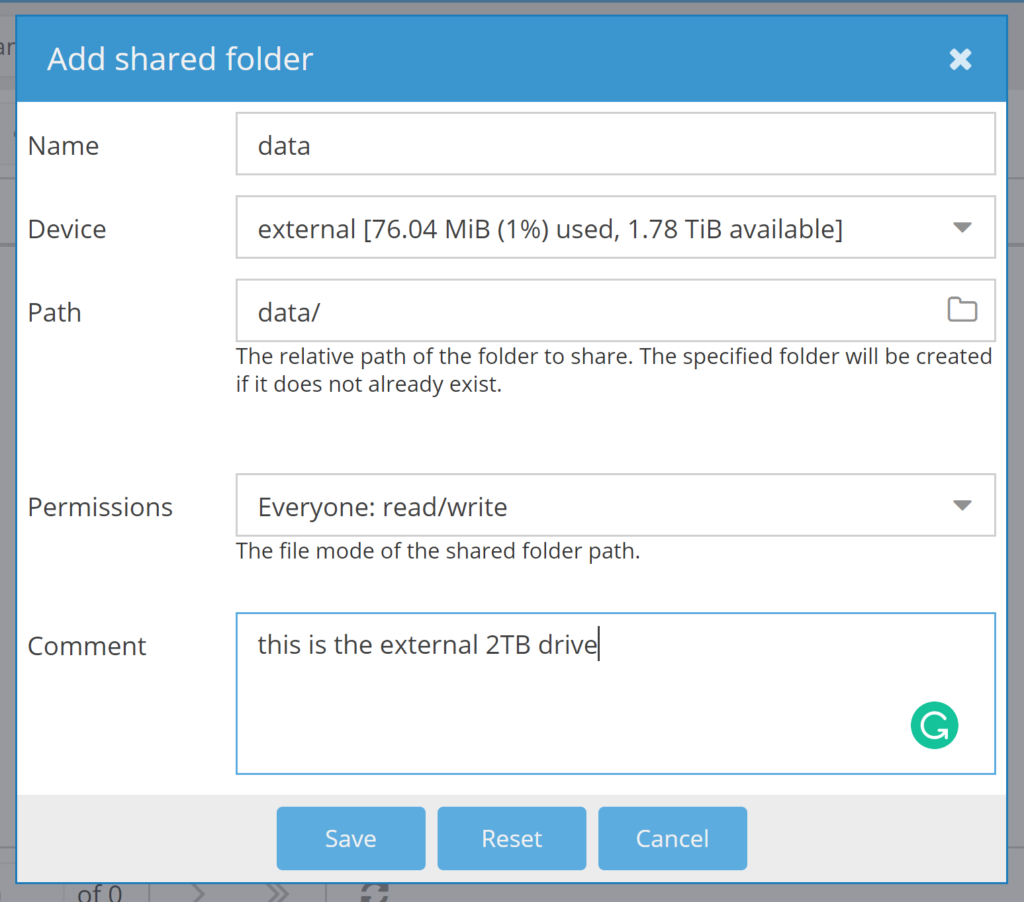
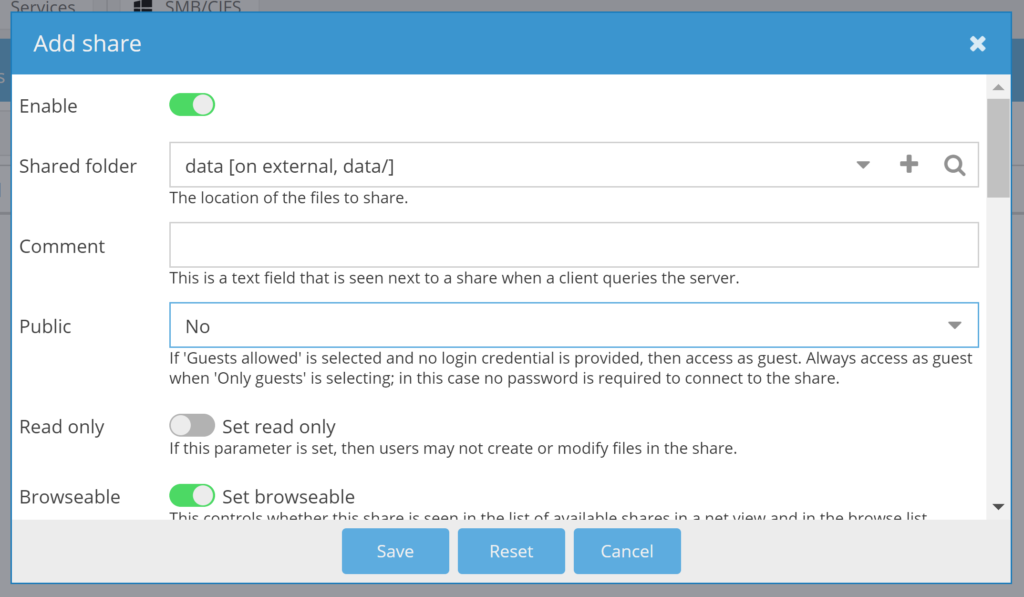
OK. We’ve got a volume, now we need to make it available out on the network. Moving down the left-hand column, next we come to Access Right Management and under that, Shared Folders. Click that and then the big “+ Add” button.

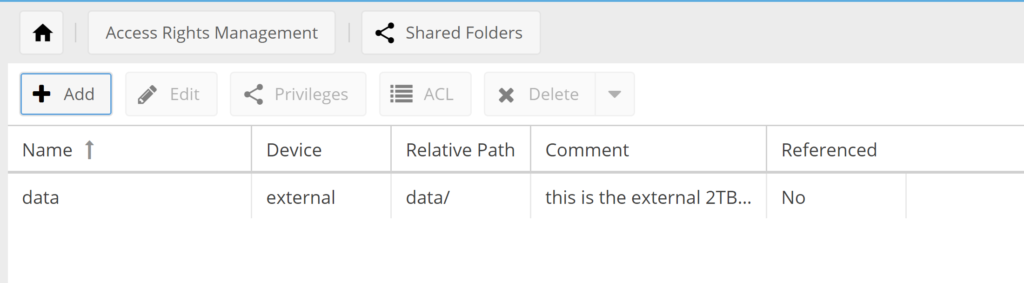
Fill in the form. Name the volume in the first field. OMV already knows the second field and autofills the third field based on how you named it. In the Permissions, I drag down to the bottom choice. I run a wide open network and trust that people wont reek havoc on each others’ files. You might operate differently. Save your work and you will see some thing similar to this:
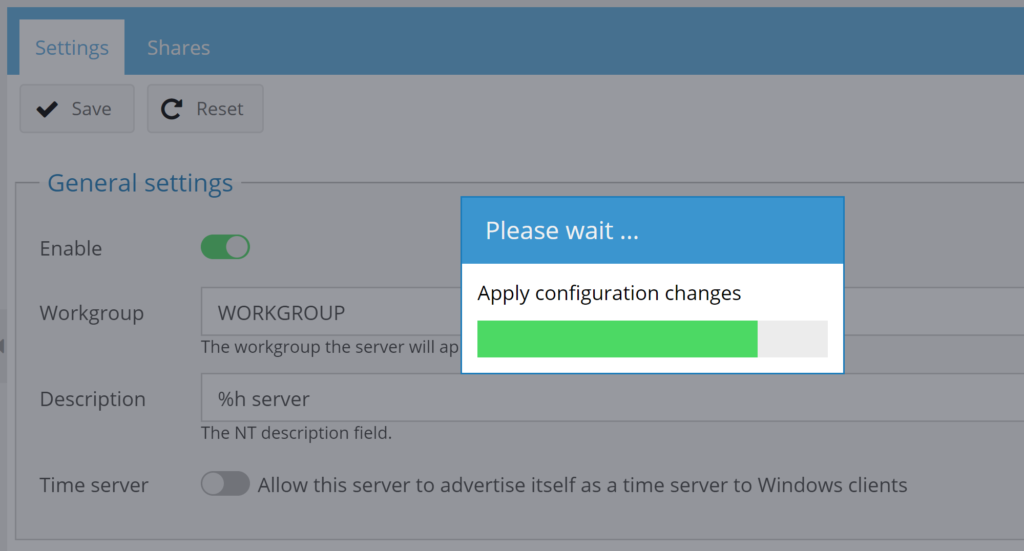
Almost there! Let’s get this thing talking to your Windows network! First, you’ll need your workgroup name. The default is “workgroup”. Double-check by pressing the Windows key, type Control Panel, and then press Enter. Click System. The workgroup appears in the Computer name, domain, and workgroup settings section. Put that into OMV: Continuing on our merry way down the left-hand menu, go into Services and click SMB/CIFS. Click the slider to turn it on. Make sure you’ve got the right workgroup name entered. Click the SAVE button up top. Answer “yes” to Apply Setting. (You’ve been doing that all along, right? 😉 )
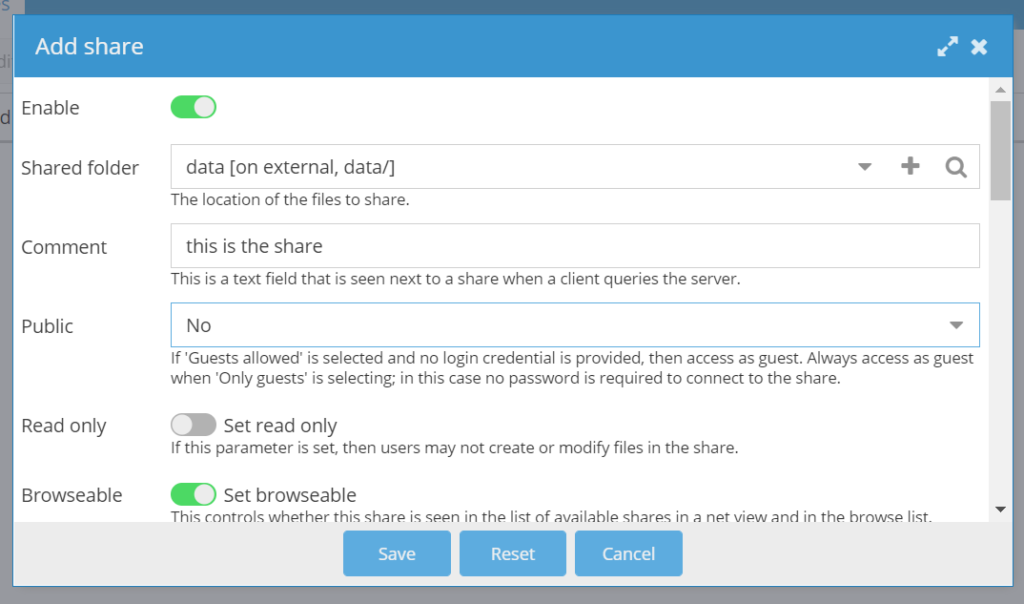
Next, hit the Shares tab. Click the slider to “Enable” the Shared Folder:
Create some users!
So far, we have created a volume and shared it. We’ve turned on the file-sharing protocol (SMB/CIFS) and exposed it to the workgroup machines on the network. Now, we just need to create a username and password to get to it from Windows! Back up to User Rights Management and Users. Click the”+ Add” button (as usual) and fill out the form:
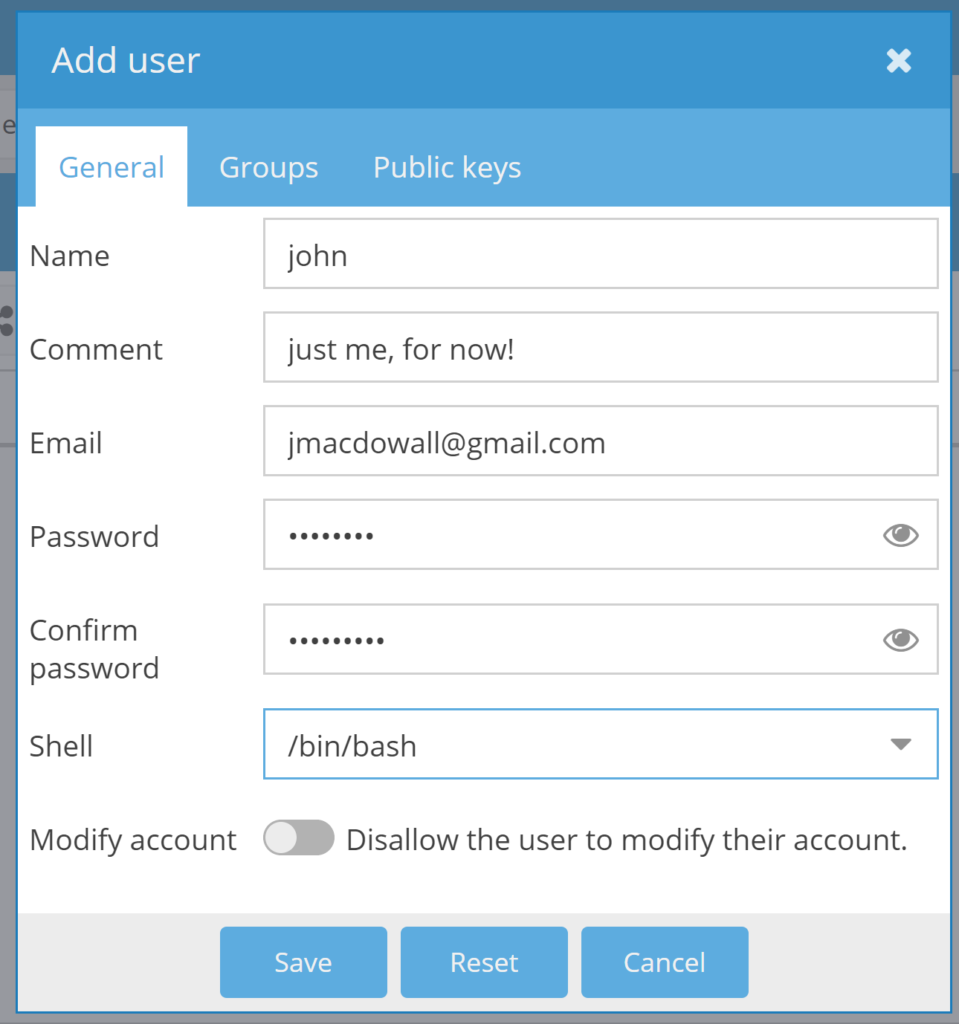
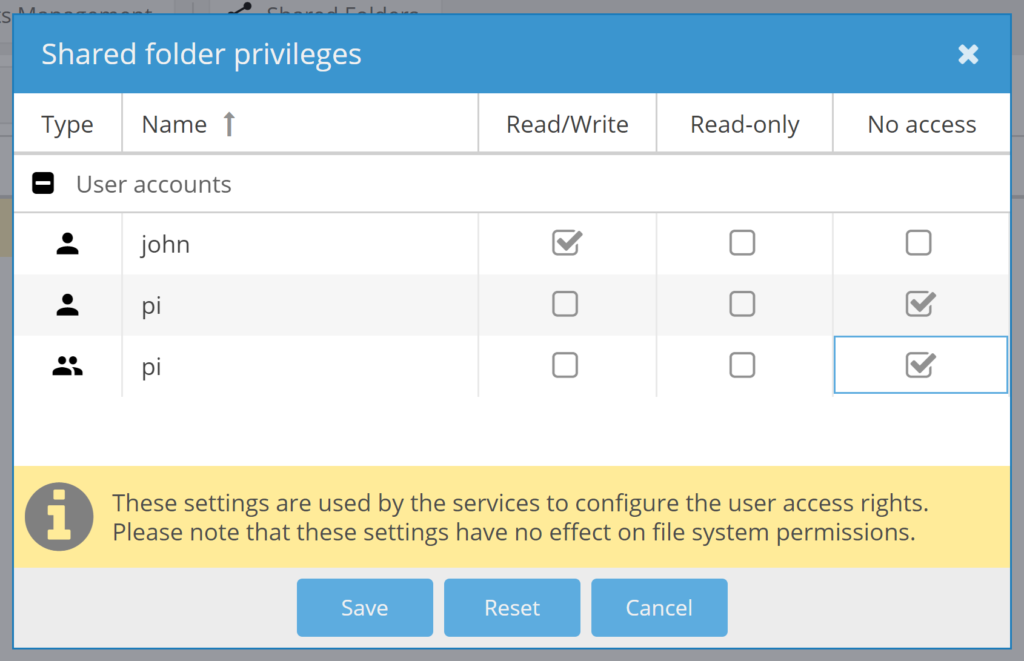
I created a user for myself and clicked save. Let’s give the user access to a resource, the external drive. Go back to “Shared Folders” and click the one that we just created and then “Privileges”. You’ll see the stock “pi” user with no rights along with your user. I’m giving myself full read / write access by checking the corresponding box and clicking save. That was in the settings tab.
Finally, turn on the share. In Services, SMB/CIFS click the other tab, labeled “Shares”. Just click the Enable slider. The rest you can fine-tune later.
After the system finishes applying changes: the moment of truth! Can we see it from Windows?!?!? Go to File Manager and scroll down to Network Devices. Click the pull-down and you should see our new server:
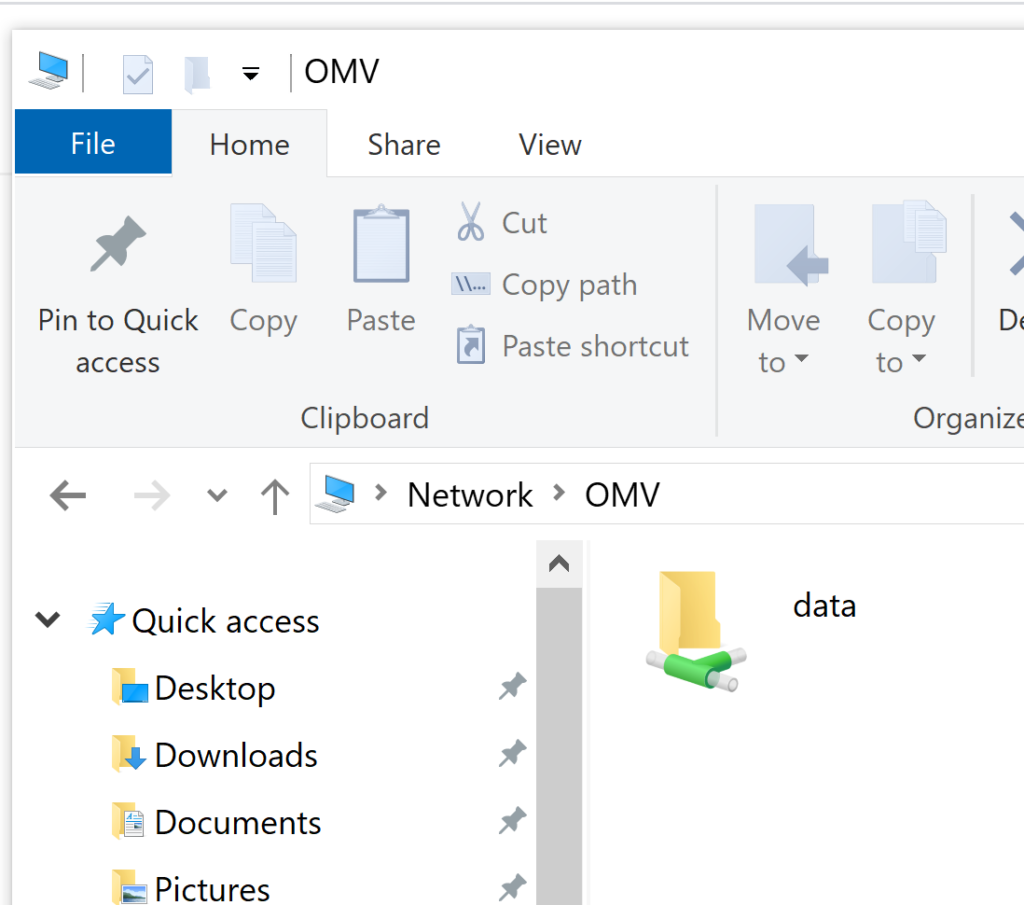
We did it! Of course, most of the setup is completed. Adding more drives and users will be much simpler because you’ve already got all the framework.
Now, go turn on some other features and you’ll be really surprised at how much is available in OpenMediaVault!