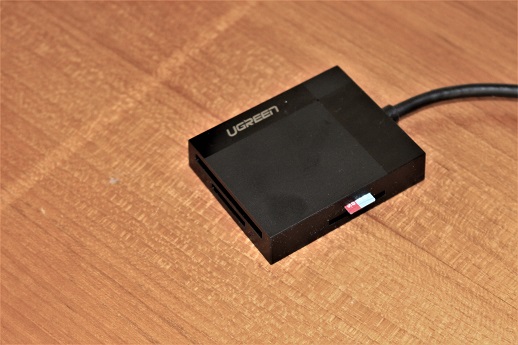
The first step to running a Raspberry Pi is creating the SD card from which it boots and runs. In Step One, you downloaded all the software you need, now to set up the SD card! First, put the SD card in the writer and plug the writer into an available USB port. Windows should recognize that you plugged something in, and will (maybe) assign it a drive letter.
Fire up Win32 Imager.
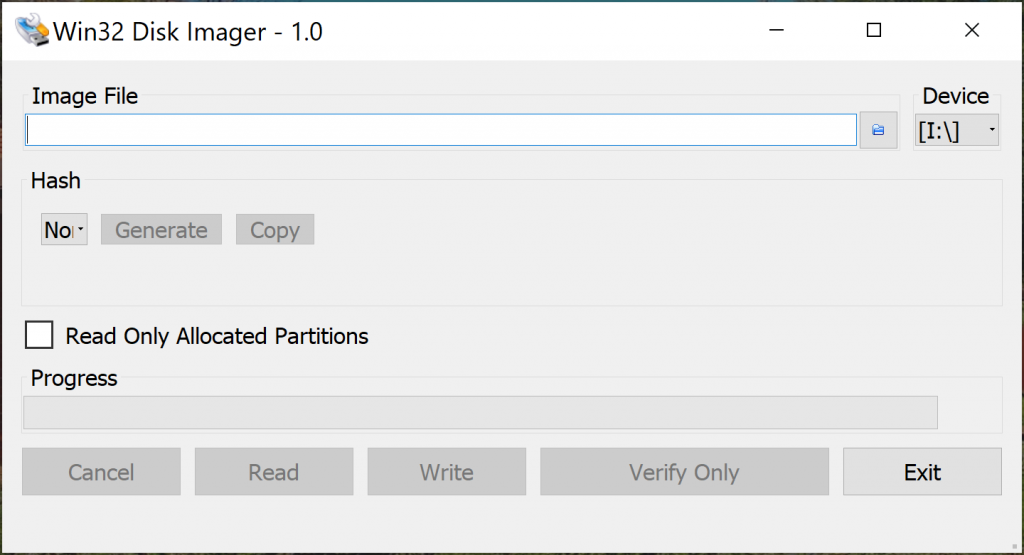
In the top box, for “Image file”, find the .img file that you downloaded and uncompressed. You can use the little folder on the right to browse to your downloads directory and select it.
For the “Device”, choose carefully!!! My SD card comes up as F: but yours will probably be something else. Be careful not to choose your hard drive, like C: or D: or another external drive, like your backup drive. You will permanently OVERWRITE everything on the drive! Remember, we’re imaging the drive, meaning we’re entirely replacing everything on the drive with an image for the Raspberry to use. Double-check in Windows Explorer that you know exactly how your drives are labeled at this point.
Be Careful!
If you’re completely sure of what you’re doing, hit the “Write” button and start the process. It will take 5-10 minutes to write the SD card. Some slower SD cards might take up to half an hour, so be patient! You can sit and watch the thermometer bar fill up to show the percentage complete or go get a drink. Once the process is complete, you’ll get a little popup letting you know.
My computer has automount turned on. Once the SD card is completely written, Windows will try to mount the partitions on the SD card. It will mount the /boot partition and fail and complain about the other partition that we just created. Cancel those warnings that the drive is not mountable. It’s a Raspbian operating system. Windows has no business in there anyway.
Sidebar: Turn on ssh
However, this is a convenient circumstance! Create a new file on the /boot partition called “ssh”. That’s it. No extension. No contents. Just an empty file called “ssh”. Why? When the Raspberry boots for the first time, it will see that file and erase it! But in the process, it will turn on sshd! Very handy for remote connections into your little computer. If you skip this step, and you don’t have a keyboard and monitor, you won’t get in.
Now the moment you’ve all been waiting for!
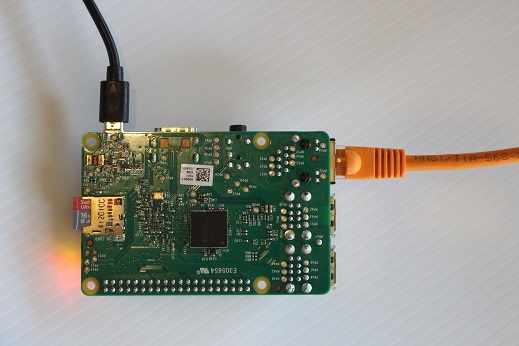
Now, let’s hook everything up. Put the SD card in the slot on the bottom of the Raspberry. It only goes in one way, but be gentle! Plug a network cable into the Raspberry and your network (mine is orange). Plug in the monitor and keyboard and mouse, if you’re using them. Finally, plug in the power supply (black cable) and plug it in to the wall. If you’ve got a monitor on, you will see a color test and will get to watch the OS load. If you’re planning on ssh-ing in, give it about 20-30 seconds to complete the process and turn on sshd.
IF you’re looking to ssh in, you’re going to need the IP address. Check your router. Look for new entries in the DHCP table. You might have to temporarily plug in a monitor to see the boot screen. The Raspberry will announce its IP address a couple of lines up from the prompt.
The Moment of Truth
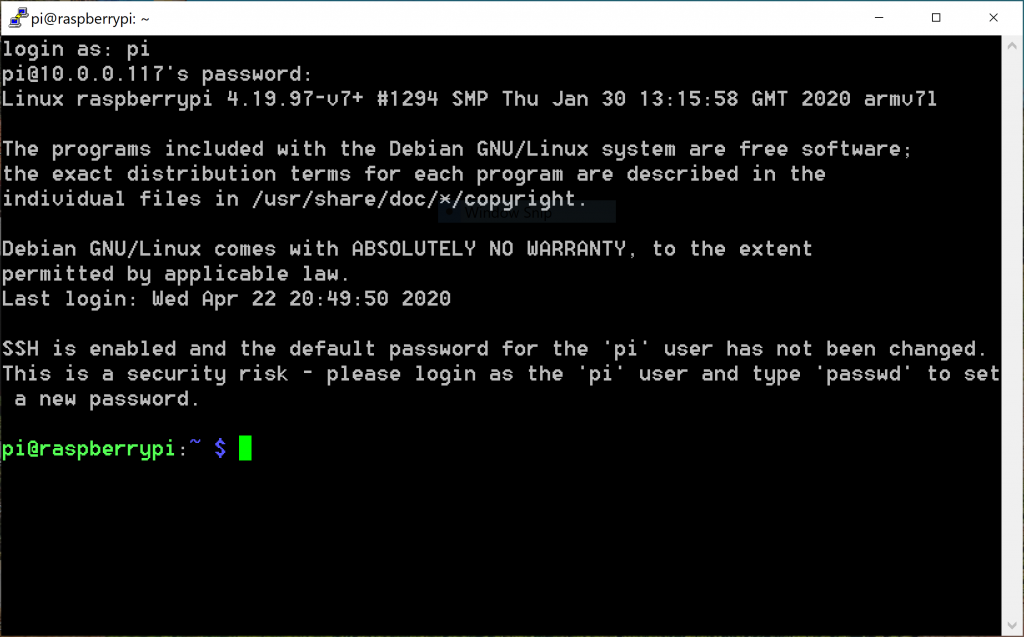
I like to use putty for my ssh client. It’s small and fast and highly customizible. Download it here. Just grab the executable “putty.exe” towards the bottom of the page. No installation or customization needed. Type in the IP address of your Raspberry and hit enter. Log in as “pi”. The password is “raspberry”. Pretty cool…
Well, you’ve done it. You’ve got a functioning computer that you can log in to. If you’re ready we can start to customize and configure it in How to Configure Your New Raspberry