So, it seems things have gotten easier with the new round of Raspberries. The Raspberry Pi 4 is capable of booting directly from USB. No longer do you need to build an SD card and then transfer everything to a thumb drive, edit cryptic boot files, and cross your fingers that you create an unbooting mess. Now, you can just create a bootable thumb drive and skip the SD card altogether!
Downloads
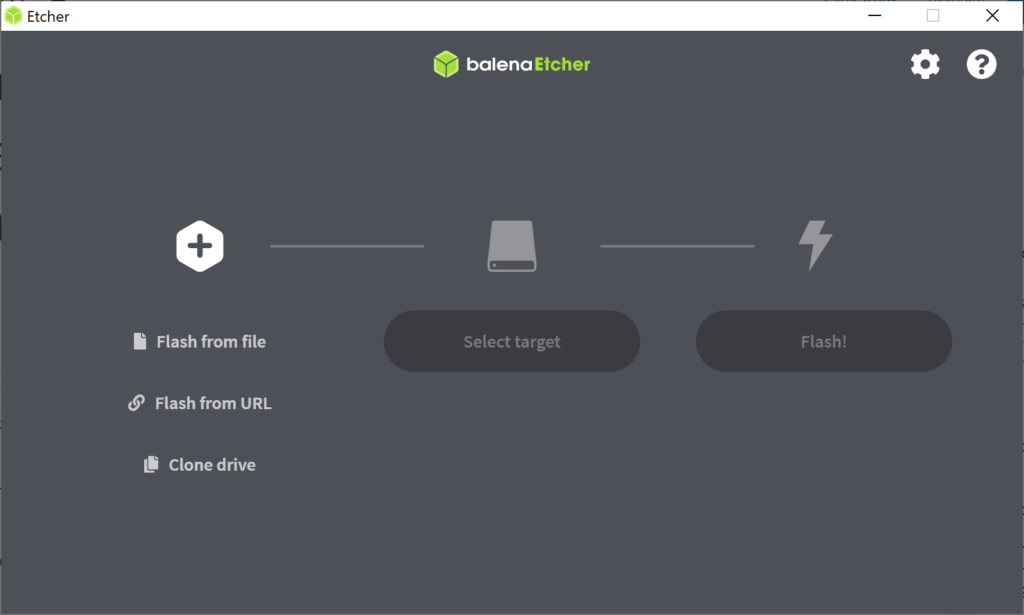
First, grab a copy of balenaEtcher. This works very much like Raspberry Pi Imager, except that it is MUCH better at detecting thumb drives and USB drives. Once you’ve downloaded the setup program, run it, accept the licensing, and you’ll be greeted with a (semi)familiar screen:
From here, you can choose your OS IMG file, your thumb drive and put it to work. I’m flashing the latest Raspberry Pi OS that I downloaded from here.. I’m going to grab the “Raspberry Pi OS with desktop and recommended software” image because I want to play with the desktop applications on my Raspberry Pi 4. I’d like to try hangouts.google.com, so I can get reacquainted with my (adult) children during the pandemic!
Perfect timing! In the time that it took me to write this, my download completed! Next, I’ll choose the freshly downloaded image with the leftmost button. Choose the thumb drive with the middle button, and then, start the process with the rightmost button. Simple.
I like the way that balenaEtcher finds my drives:
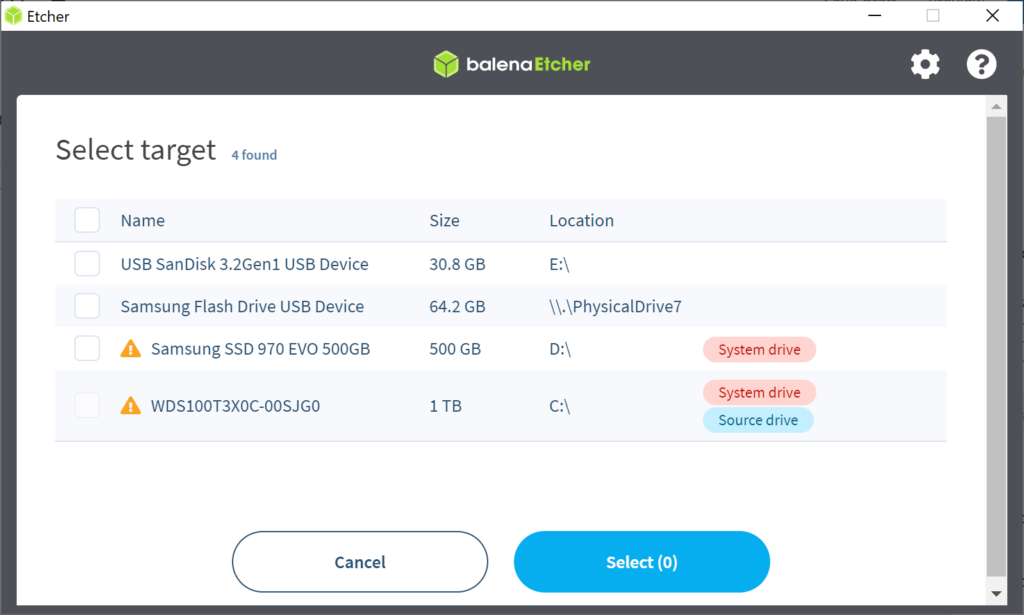
The top of the list shows my new USB drive. The second entry is the Windows Restore USB that I forgot was on this computer. And then when I open the hidden pulldown, it shows my two m.2 drives installed on the motherboard. TRY THAT with “Raspberry Pi Imager”! HA!
Once you make your choices and click on the “Flash!” button, balenaEtcher gives you a countdown clock AND keeps you entertained with links to projects that you can do with your newly setup Raspberry Pi.
Boot Time!
Once balenaEtcher finishes writing, it does a verify. This just ensures that the image on the drive exactly matches the image file. If there’s a problem with your thumb drive, this is when you want find out–not when you’re trying to use your Raspberry! Pull the thumb drive out of your PC and put it in the Raspberry. Make sure you don’t have an old SD card in there! Attach the peripherals and the monitor. Apply power and watch your Raspberry Pi boot directly from the USB port. I got a little nervous because it was taking longer than usual. Remember, thumb drives are not as fast as SD cards–but they make up for it in reliability! No more crashed SD cards.